DIY Christmas Ornaments: Stunning Styles to Try

Since we are spending a lot of time at home this year, decking the halls has never felt more appropriate. Christmas décor offers such comfort and nostalgia. In fact, research suggests that putting up holiday decorations early makes you happier. No joke! Scientists say decorations help us reconnect with the magic of childhood, when burdens and responsibilities were few (see this article). Sounds pretty good right about now, doesn’t it? Consequently, I wanted to share the DIY Christmas ornaments we made this year. These are easy, affordable, and they can help keep kids busy!
But first, c’mon in… Click the video below for a quick home tour.

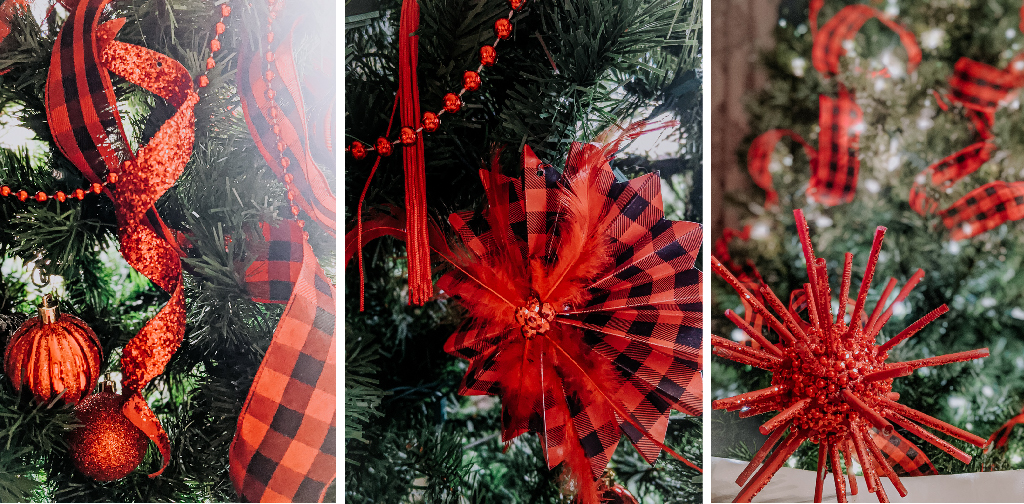
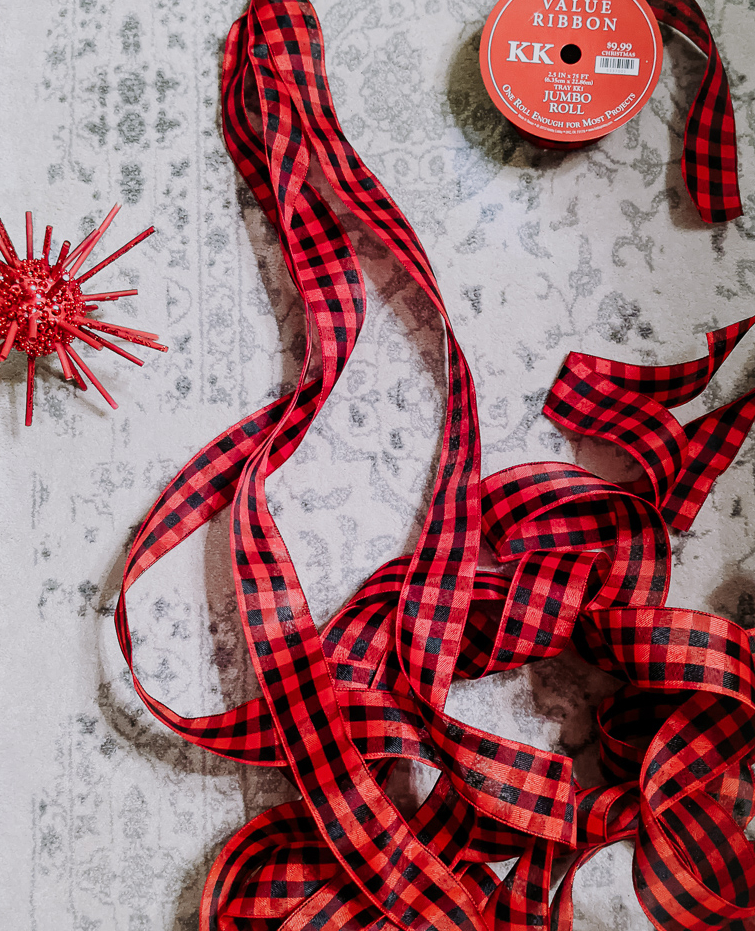
I hadn’t intended on doing a new Christmas color scheme this year, but the little guy requested a red tree. Red is his favorite color and mama aims to please! However, ornaments can get expensive. I wasn’t about to splurge on all new ornaments after buying new last year (see last year’s display here). So, we decided to get crafty and do some DIY Christmas ornaments. Our jumping off point this year was a buffalo check ribbon.
Pro tip: The most affordable way to get that “full” Christmas tree effect is to use a wide, wired ribbon. Ribbon is great for filling natural holes in your tree and covering a lot of surface area.
We ended up doing 3 different DIY Christmas ornaments (shown above). From the right, we used a paper towel roll to make the sparkly dangling ribbon. The middle paper fan ornament uses craft paper, feathers, sequins and glue. Finally, the third is a spray painted Styrofoam ball with various lengths of straws stuck into in (plus a hefty dose of glitter).
Ready to get started?
3 Easy DIY Christmas Ornaments
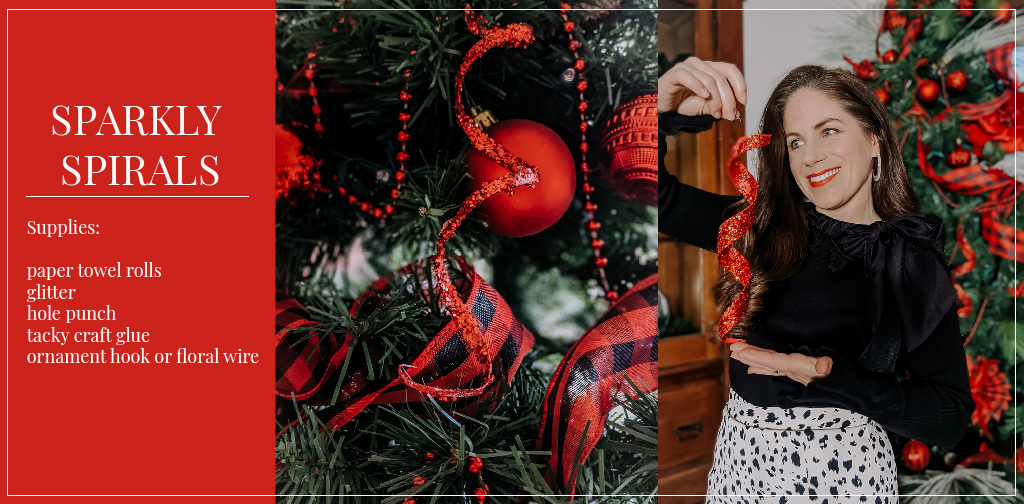
While all three are fairly simple, let’s begin with the easiest of all: the paper towel roll “sparkly spirals.” This is a project I had my three-year-old help with! Just start collecting those empty paper towel rolls. You can also use toilet paper rolls, but I find the longer tube of the paper towel roll easier to work with.
Supplies – Paper towel rolls, craft knife or scissors, paint (craft or spray), tacky craft glue, glitter, hole punch
Instructions:
- Using a craft knife or scissors, carefully cut into your paper towel roll following the diagonal lines of the tube. Once the tub is open, cut it into long, thin strips. You will likely need to “clean up” the edges a bit, so you get a nice smooth cut. The thickness is up to you. I did a mix of thin and thick. Each tube should provide several strips.
- Grab the strip by one end and curl it into a spiral. This is to re-emphasize and shape the curl to match your desired look.
- Paint your spirals. You can either use craft paint for this (good for keeping kids occupied) or spray paint (the quick version).
- Take your tacky craft glue and trace a thick line of glue all the way up your spiral. Be sure to get both sides. Smear out the glue to coat your spiral. The goal is to get plenty of coverage for the glitter to adhere to. I experimented by using Elmer’s glue, but found it got too wet and the spirals lost their shape. I recommend this tacky glue. It performed great for us.
- Place spirals in a box or on a garbage bag and sprinkle with glitter, turning as you go to reach all angles and pressing it into place if you notice an area isn’t getting coverage.
- Let dry thoroughly.
- Use hole punch to create a void for your ornament hook.
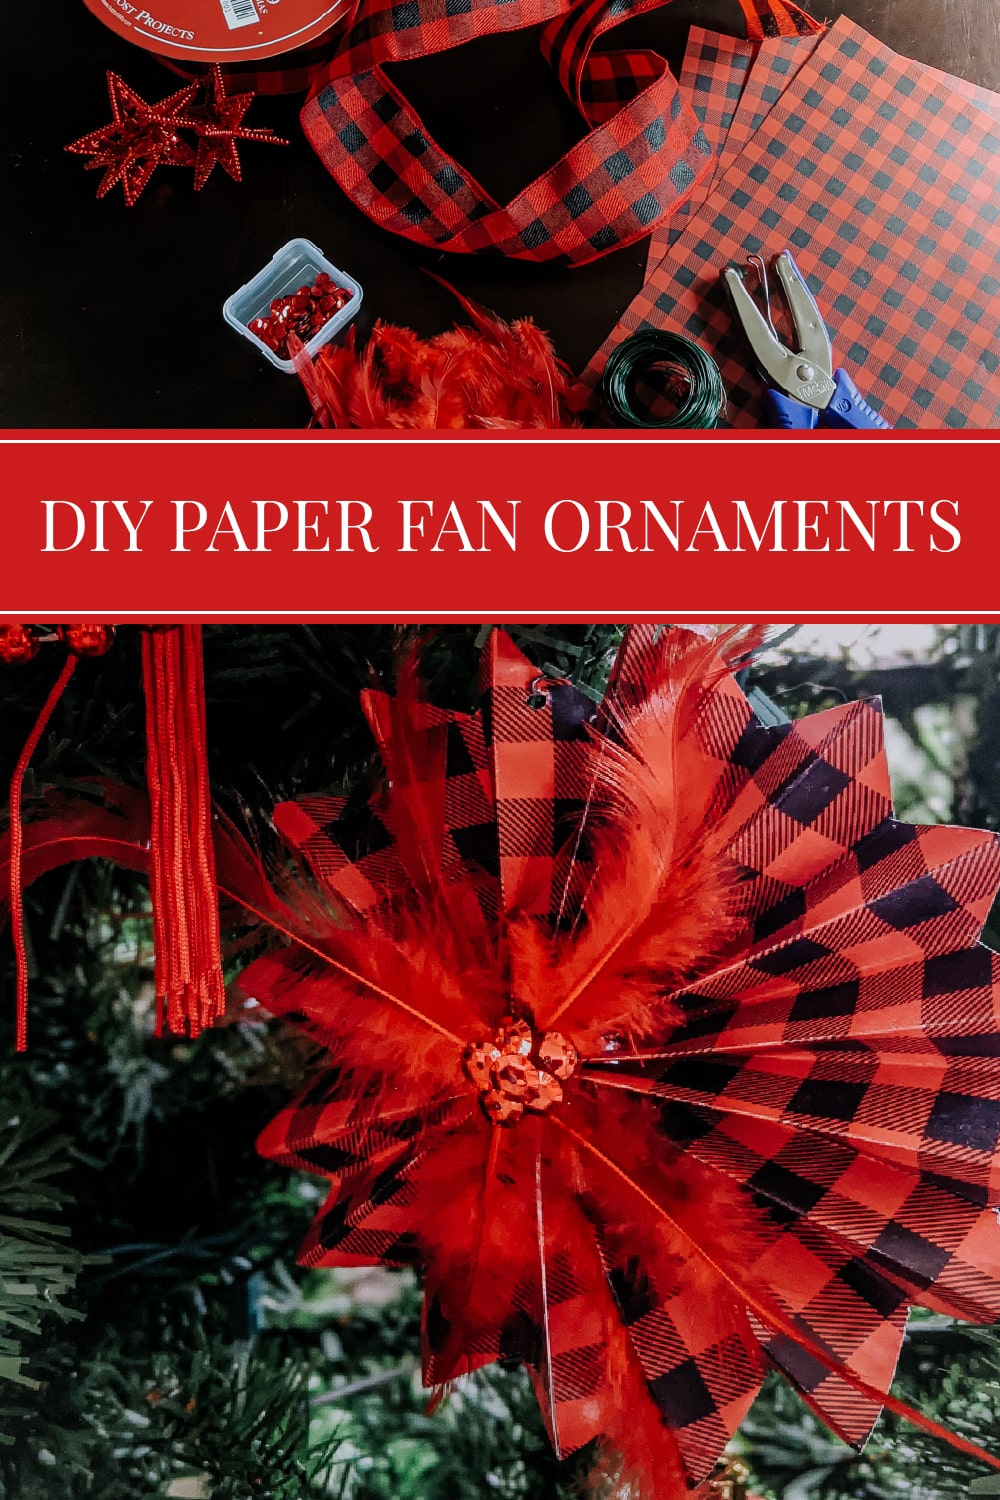
DIY Christmas Ornaments: Feathered Paper Fan
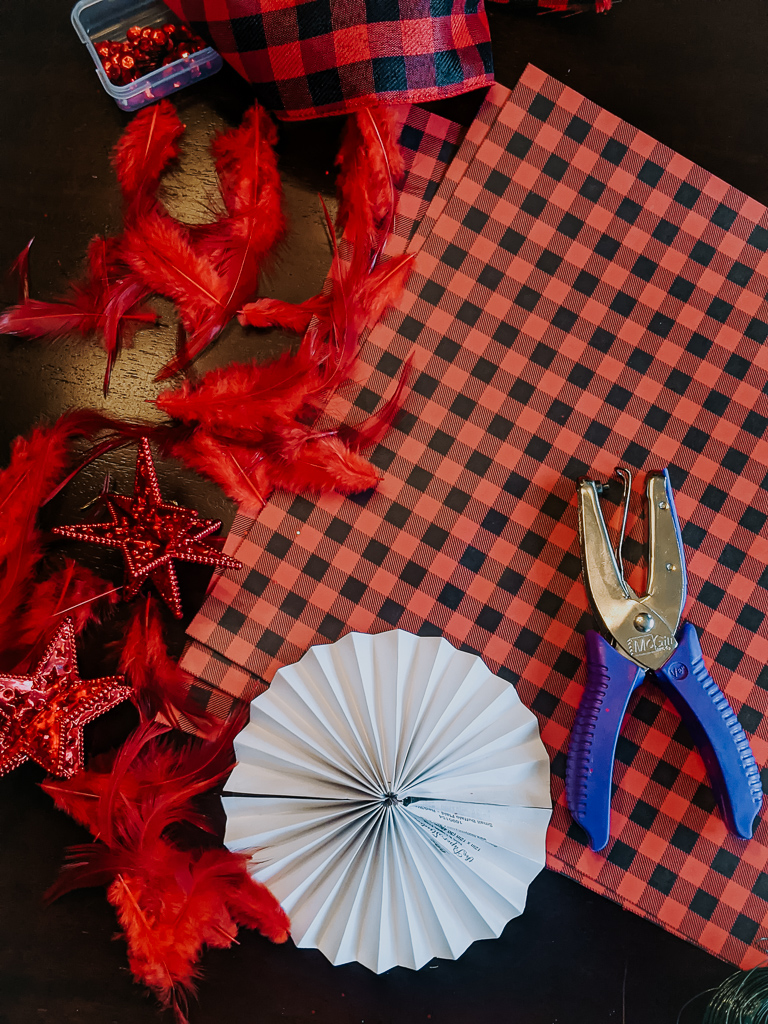
Supplies – Craft paper or cardstock, feathers, sequins, glue or tape, floral wire or embroidery floss, scissors, tacky craft glue
Instructions:
- Note: You will need two 8×12 sheets of craft paper for each ornament. Fold paper in half vertically, scoring the sheet to mark it or trace a vertical line with a pencil.
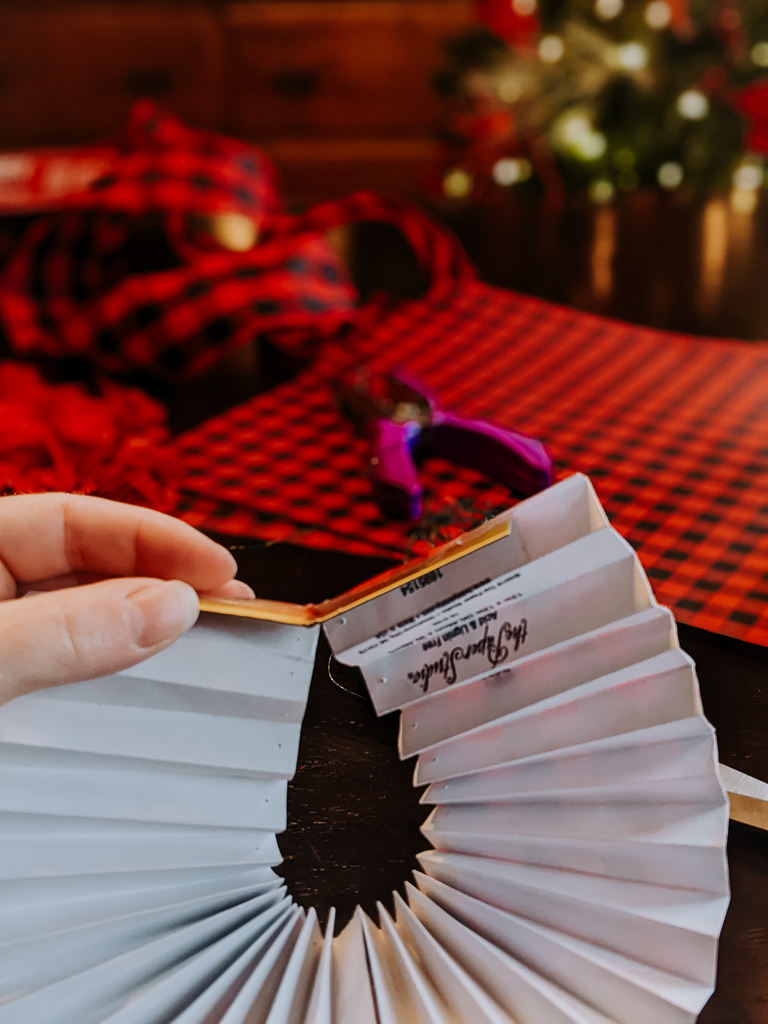
- Open back up and begin accordion folding the sheet.
- Cut along the vertical line you traced or scored. Refold accordions if necessary
- Glue or tape folded sheets together to form one long rectangle.
- Wrap floral wire or embroidery floss around center of folded sheets forming a bow. Cut excess after securing.
- Open fan and tape or glue edges together to form a circle.
- Trim edges if desired.
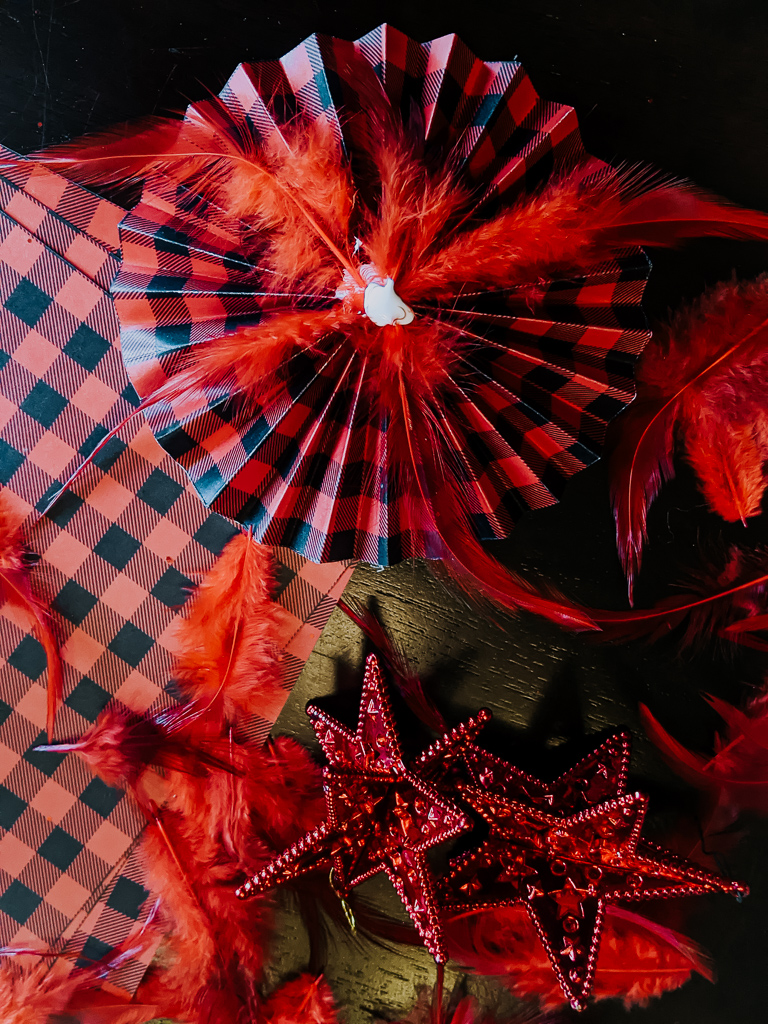
- Glue four feathers emanating from center of paper fan. Glue sequins on top of the spot where the feathers join.
DIY Christmas Ornaments – Glitter Globes
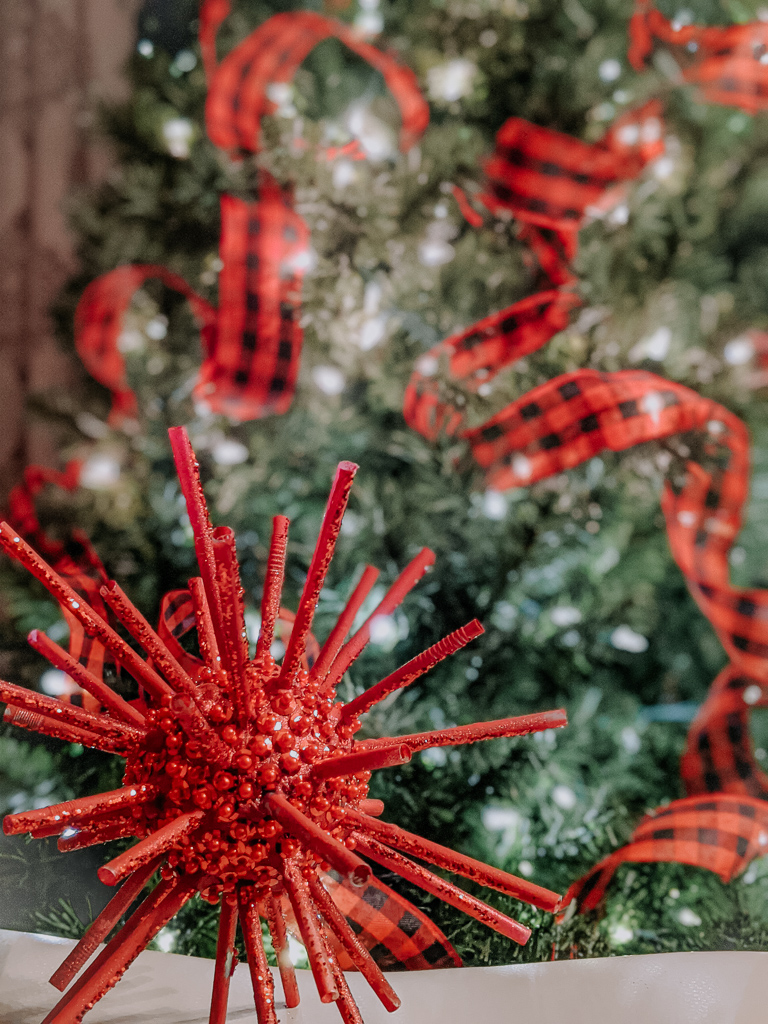
Finally, the “glitter globes” Styrofoam/straws ornament. Yeah… I know what you’re thinking. Doesn’t this look like the virus? Yup, red was a bad choice. However, in any other year, these add such punch and impact to your tree. They are VERY eye catching and great for filling any natural wholes your tree may have.
Supplies – Styrofoam balls (I used Floracraft), straws, spray paint, tacky craft glue, glitter, ornament hook, sequins
Instructions:
- Trace a horizontal and vertical line around your craft ball as a guide. Add as many lines as you feel you need to keep your straws organized.
- Trim your straws to two different lengths — one long, the other short.
- Place a small dab of glue on your straw, then push staws into your ball following your lines and alternating short and long.
- Let ball dry completely.
- Spraypaint ball, covering completely.
- Once paint dries, trace lines of straws with glue and sprinkle with glitter.
- If desired, cover Styrofoam ball with sequins, securing with glue or a red pearl push pin (as seen below).
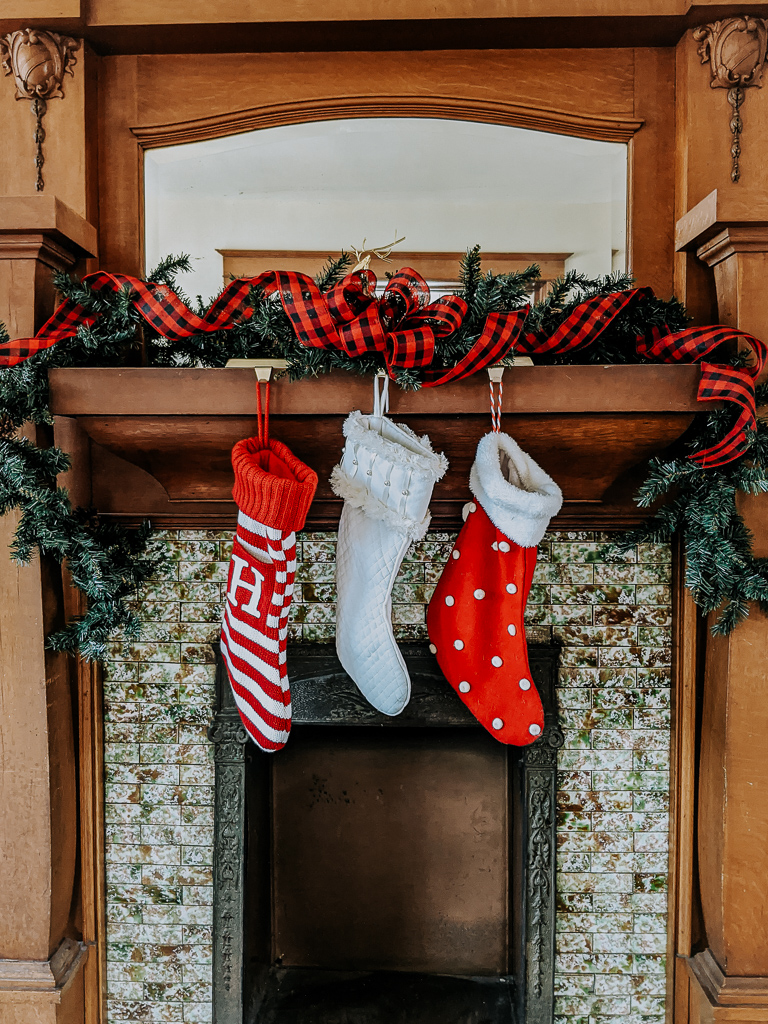
Feeling inspired? These take a bit of time, but it is so satisfying to be able to put a handcrafted touch on your tree. I know we will treasure these ornaments for many years to come. Additionally, my son really got a kick out of being part of the process! Here are a few more photos of our Christmas transformation, as well as links to the décor pieces I found to tie it all together. Click on the image below for direct links to the items I used.
For my fashionista friends… My outfit is a Chicwish find. The skirt is a true mini length (even for petites – I’m 4’11) and the top is so gorgeously festive. It’s a high quality knit with slight bell sleeves (also available in white, ivory, and pale pink). I didn’t iron the bow, but should have. Blame busy mom life, lol! Check the link, so you can see what it’s supposed to look like.

Wishing you and your family health and happiness this unique holiday season! If you have any questions about these DIY Christmas ornaments or our décor please let me know in the comments below.
XOXO,
Lindsay
Related
Related Posts
How to Decorate a Christmas Tree Like a Pro
You know that “wow” moment, when you walk into a department store decked…







Jenifer | 23rd Nov 20
I’m so impressed and think that personal touches like that make the holidays special!!
xx Jenifer
laveremis | 23rd Nov 20
Thanks so much! And you are spot on — making it yourself might take a little longer and it might get a tad messy, but it is 100 percent more meaningful. Happy holidays and Merry Christmas (really early).