Microblading Before and After: My Experience
If you only had time to do one thing in your beauty routine leaving the house, what would it be? For me, the answer has always been brows. I don’t feel “dressed” until I fill them in with pencil or power. It’s not hard to do, but I’ve always fantasized about what it would be like to roll out of bed with perfect brows. I caught my first look at microblading before and after photos about two years ago. The results were impressive… and the promises equally so! A semi-permanent solution for fuller brows that could last an entire year? I was curious, but cautious.
You see, I’ve never been an early adopter of anything. I let other people vet new gadgets, services and trends before I’ll dip my toe in the water. That was certainly the case with microblading. I wanted to do my research. I needed to be sure. So, let me give you the gist of things…
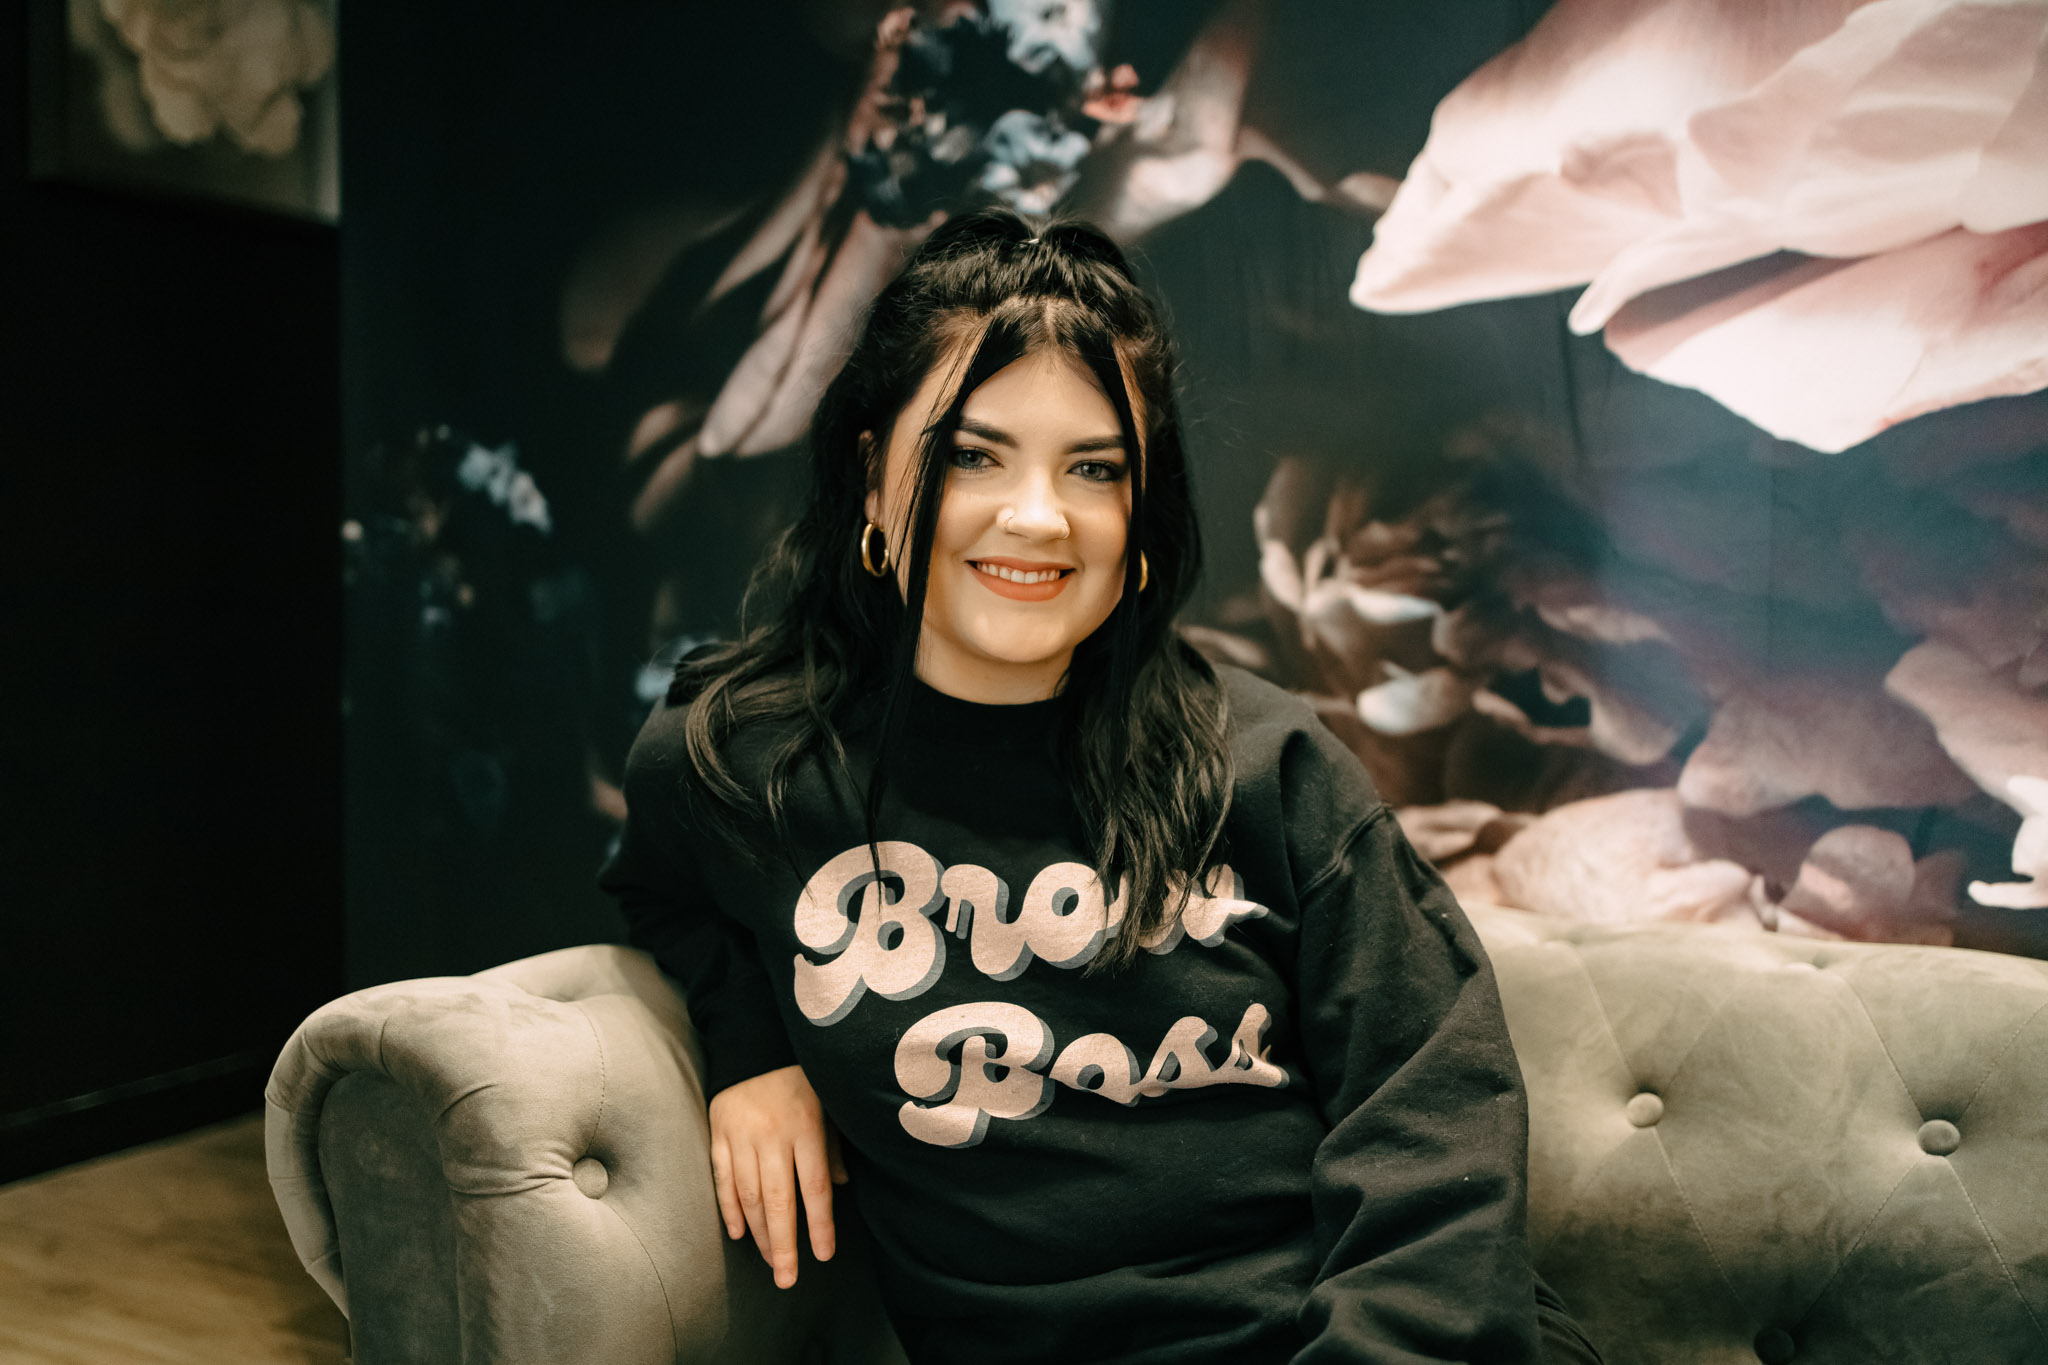
First, it’s not a new service. Microblading took off in the U.S. back in 2015 and has been popular in Asia since 2005. However, beauty trends are slow to reach the Midwest. It took awhile for my town (Lafayette, Indiana) to have microblading options—and even longer for me to find Marissa Smith at Spa Bar.
What is microblading?
Microblading is a semi-permanent technique for enhancing the appearance of your eyebrows. Unlike tattooing, it uses fine, short strokes to scratch pigment into your skin. It’s not deep; it’s surface level. When done correctly, the strokes look just like hair. It can be dramatic and bold… or exceedingly natural (my goal). For instance, many people who have lost their hair to alopecia turn to microblading. I didn’t want to change the shape of my brow. I just wanted to fix the sparseness of certain areas.
Technicians use a handheld needle-like blade to create those strokes. There’s also a process called microshading, which uses tiny dots across your brows for a less defined finish. It looks more like brow powder compared to pencil. Many technicians combine both methods to create the most realistic look. That’s what Marissa did on my brows (check out her Instagram for more incredible transformations).
What does the microblading process look like?
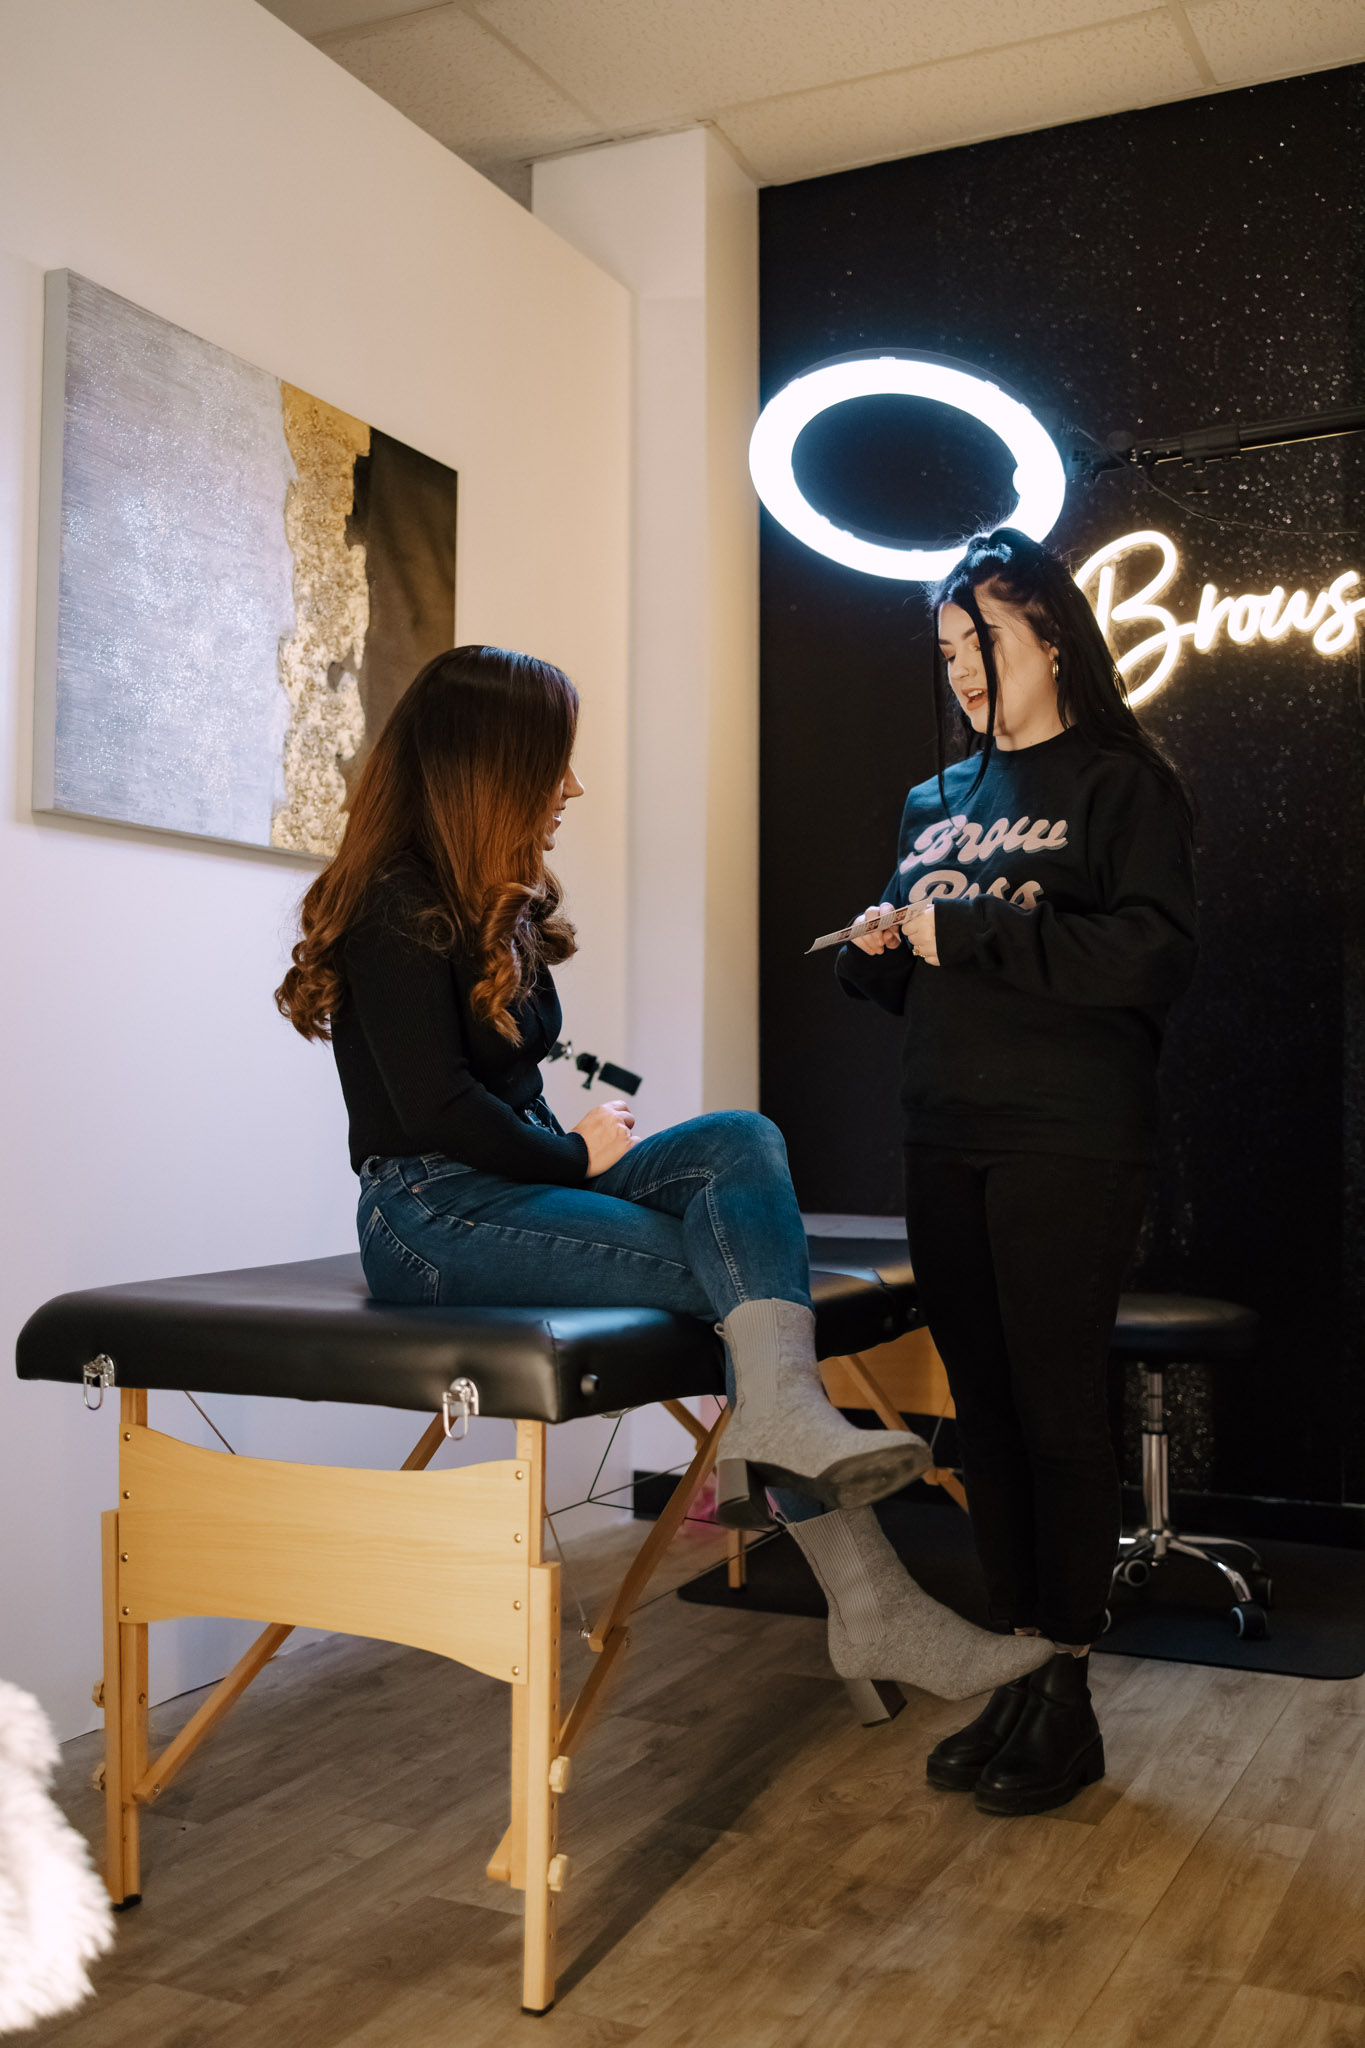
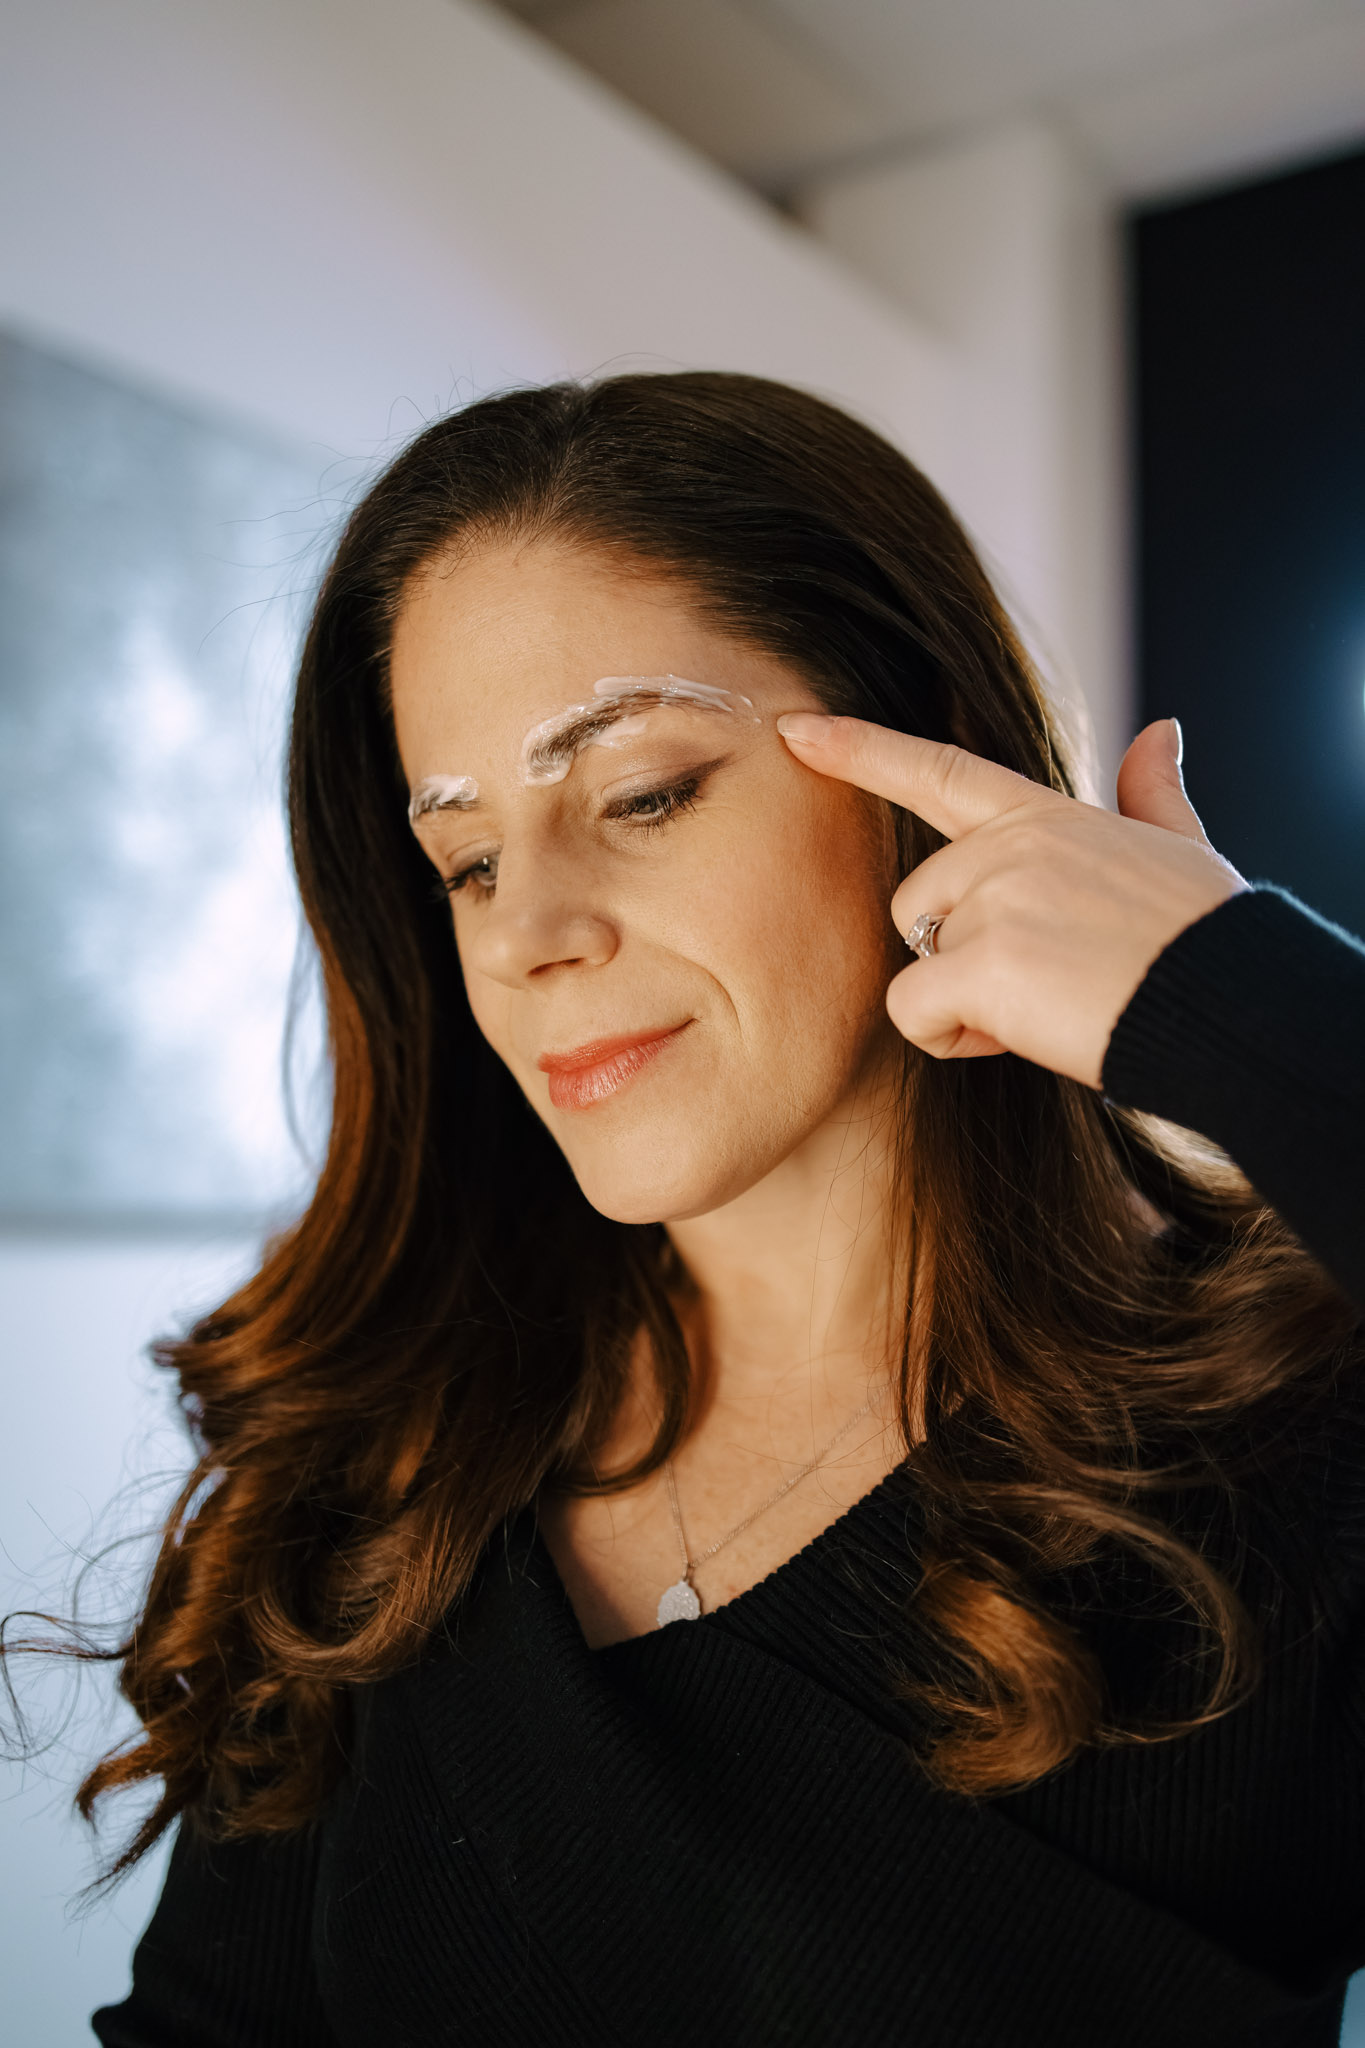
First, you start with a detailed consultation. Your brow specialist will talk with you about your goals, your preferred look, aftercare and your skin type among other things. Marissa also asked me to come with some photo examples of brows I liked. She also wanted me to come with my brows done. This will help your specialist understand the look you’re accustomed to. There’d be nothing worse than leaving an appointment feeling you don’t look like yourself anymore, right?

Marissa and I discussed style, fullness, shape, and tested out colors. Together, we picked out a pigment that perfectly matched my natural hair. Then she methodically mapped out and measured my brows. This was a surprise to me! I had no idea how technical the process is. There is a science to getting the most flattering brow shape for your face. Once we mapped things out, she penciled in the hair strokes so we could check the position and placement. Symmetry is everything!
What does it feel like?
As Marissa answered all my questions, she applied a numbing cream. It sat on my brows for about 20 minutes, so I didn’t feel much during the process. It was more like an annoying scratching sensation. There was one moment where it felt a smidge painful, but Marissa adjusted her pressure and it was smooth sailing from there. If you’ve ever had your eyebrows threaded, I would say microblading is much less painful. Marissa says 90 percent of her clients feel comfortable the entire time, some even fall asleep.
If you have super sensitive or extremely oily skin, you may have trouble numbing and might not be a good candidate for microblading. Be sure to talk this over with your technician. That’s why it’s so important to choose your brow specialist carefully. You want to find someone highly trained and knowledgeable, who can help you decide if microblading is right for you. I also recommend you find a specialist, not a jack of all trades. You get better results that way.
- Read this next: Hot rollers for voluminous, bouncy curls
For example, Marissa is a licensed esthetician and certified microblading trainer. She focuses only on microblading and permanent makeup, such as eye-liner or lip blushing (details on those services here). Now, back the process… Once my brows were good and numb, Marissa began the needling process. She worked her way across my brows, gently implanting the pigment with superficial strokes, then going back with another layer of pigment.
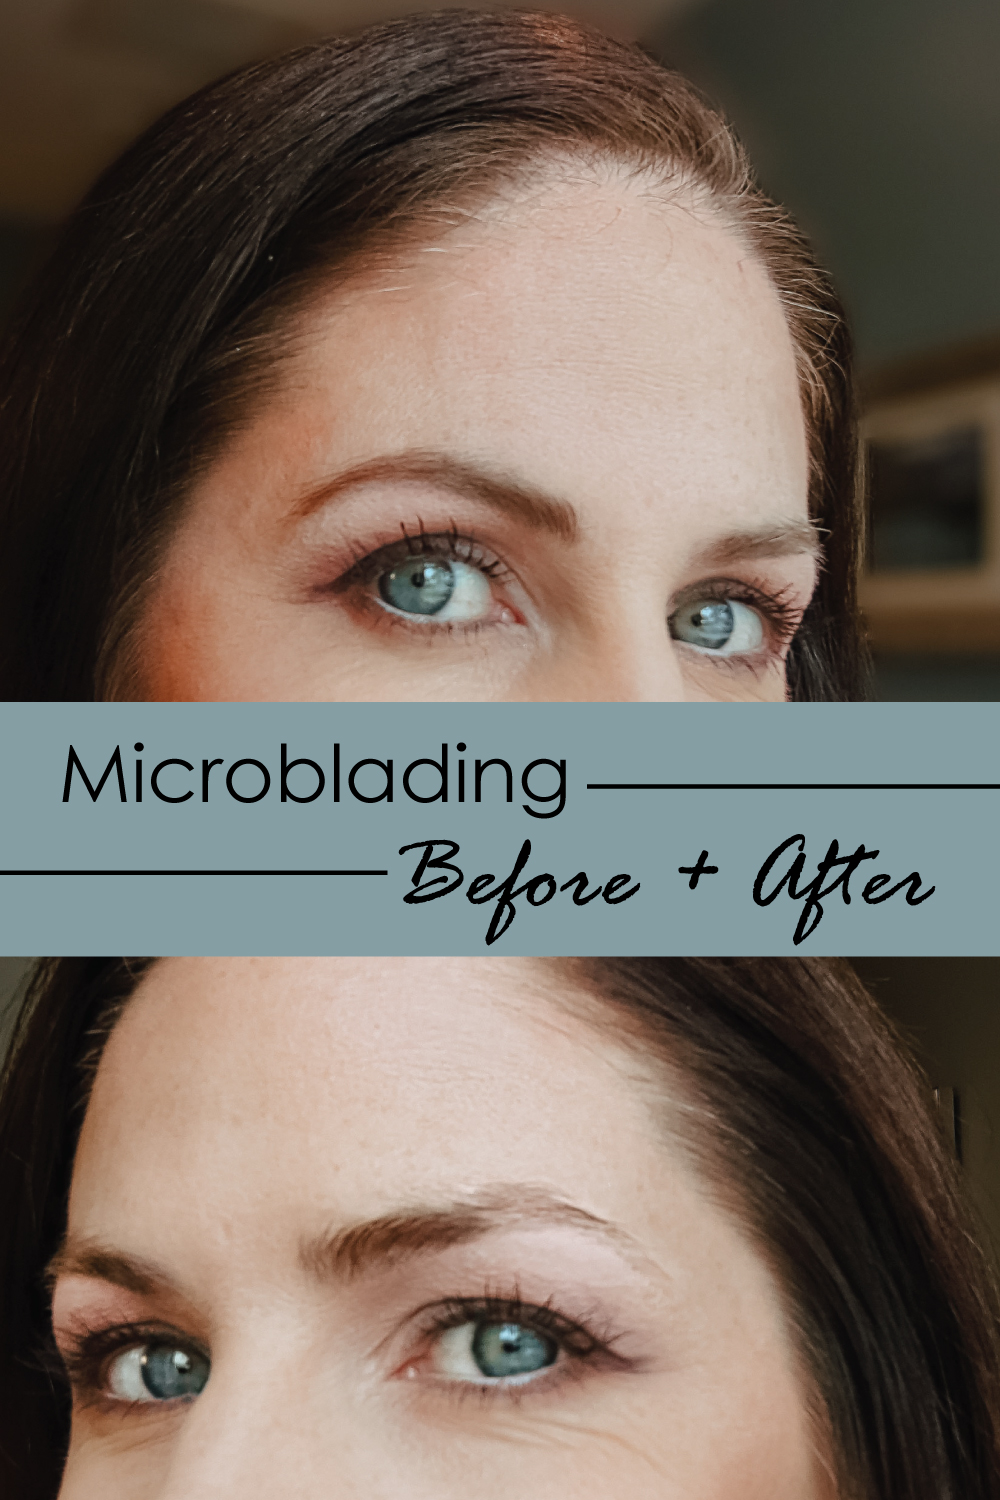
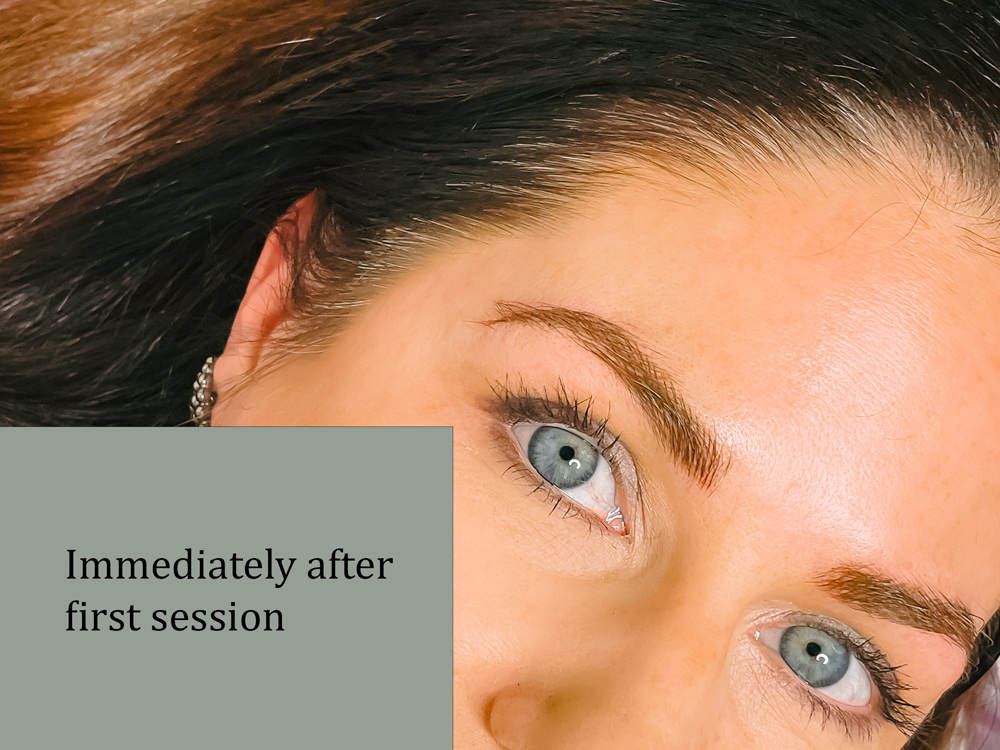
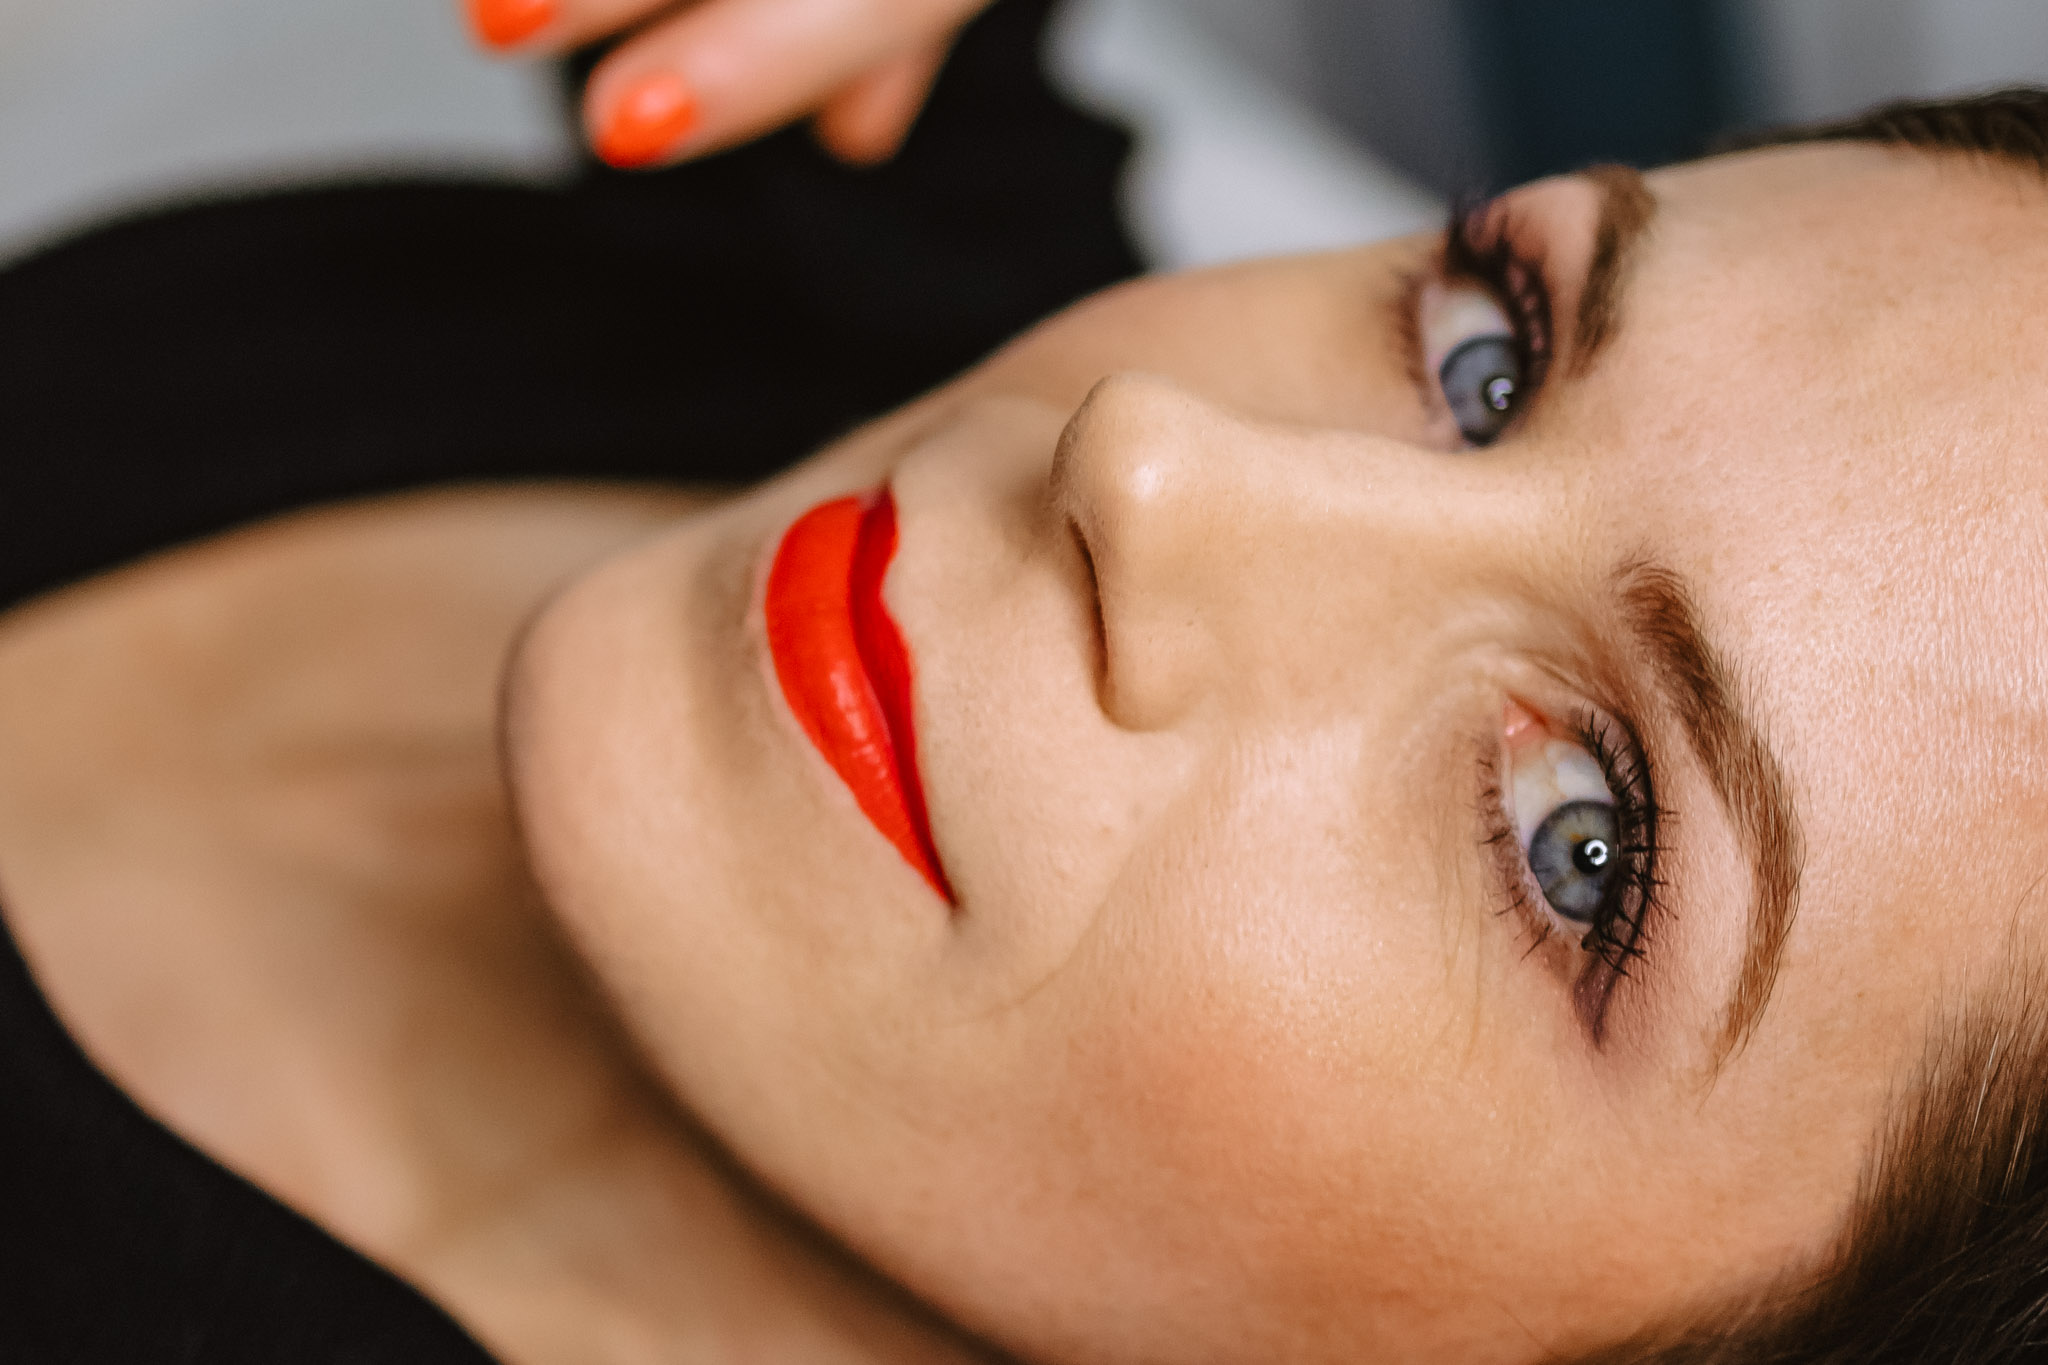
After Marissa did the needling, she added some microshading to the tails (ends) of my brows using a different tool. This created that natural look I was after. The actual microblading and microshading process is pretty quick. It’s the mapping and numbing that is most time consuming. Here’s a photo of what my brows looked like immediately after. Can you believe how natural they look? You’d never know I had anything done.
The Aftercare
This was the most challenging part. For 10 days, you are not supposed to get your brows wet. That means no intense exercise (sweat is bad) and no showering. Well, you can take a shower… with a caveat. You need to wear this funky visor to keep your brows from getting wet and it only works for two showers. Consequently, you’ll be rationing your showering.
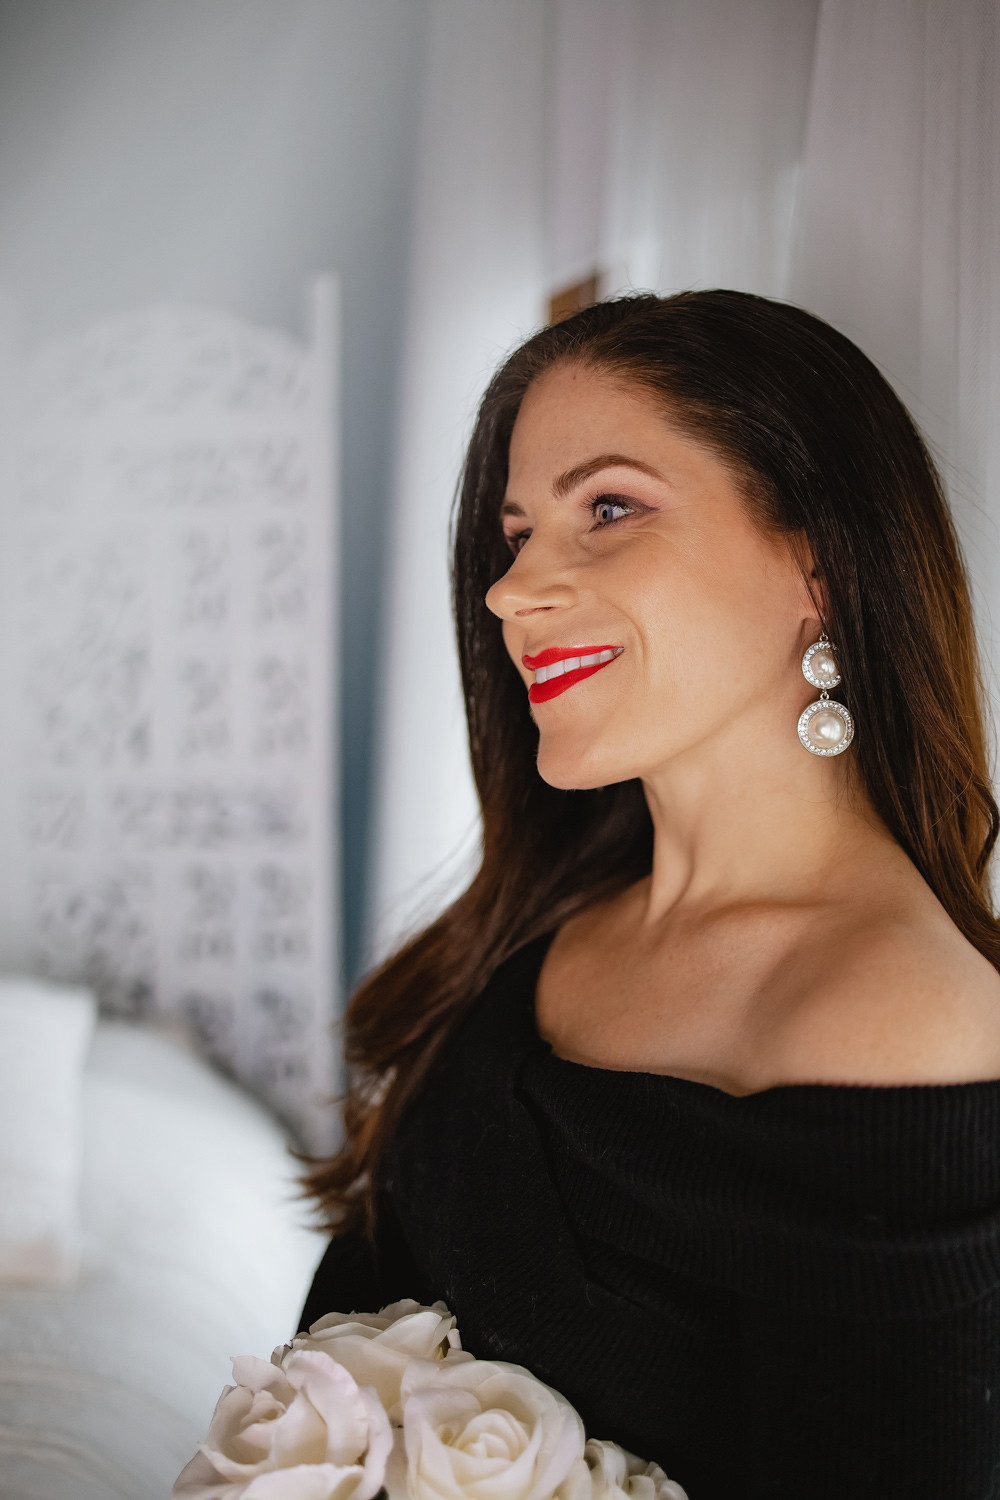
As your brows heal, they will turn quite dark. On day two, I felt like mine were really bold. After that your eyebrows will begin to scab and peel. They will look a little blotchy and feel a bit itchy. This is normal and will go away. Although Marissa prepared me for the scabbing and peeling, mine didn’t flake much at all. I never felt like they looked visibly bad during the healing process, just different. By about day 12 I was starting to see the final look… and felt super happy. It has been incredible to ditch the brow powder. I go makeup free a lot now.
My brows won’t be considered complete until I have my touch-up appointment. That typically occurs about a month after your initial meeting and is used to finesse any areas that might need adjustment. When you book a microblading appointment, a touch-up should be discussed.
In Conclusion…
Most of you who are digging up microblading before and after photos want to know one thing: Was it worth it? In my opinion, ABSOLUTELY. This has added a lot of convenience to my life and given me more confidence to rock a bare face. Microblading isn’t a cheap service, nor should it be. Remember, this is semi-permanent—and on your face! Costs vary depending on where you live. For instance, in the Indianapolis area it’s usually $400-600. In Chicago, it starts around $500. If you see services offered for substantially less than that, consider it a red flag.
For the locals, here’s Marissa’s information…
She is an independent artist at Spa Bar. That’s at 405 Sagamore Pkwy Suite B5 in Lafayette, Indiana. CLICK HERE for her website. You can also find her (and some amazing before and after shots) on Instagram.
Have a question I didn’t answer? Please drop it in the comments below!
Jeanne Pettigrew | 3rd Mar 22
You look amazing, I also had Marrisa miceoblade my eyebrows and loved her and my experience with her as well, she is amazing and explains every aspect of the procedure and puts her own twist on the subject glad you tried it..
laveremis | 4th Mar 22
Thanks so much Jeanne. Yes, Marissa was amazing. I had sooo many questions and she had an answer for everything. She makes you feel very comfortable.