Spooktacular Halloween Entryway Ideas
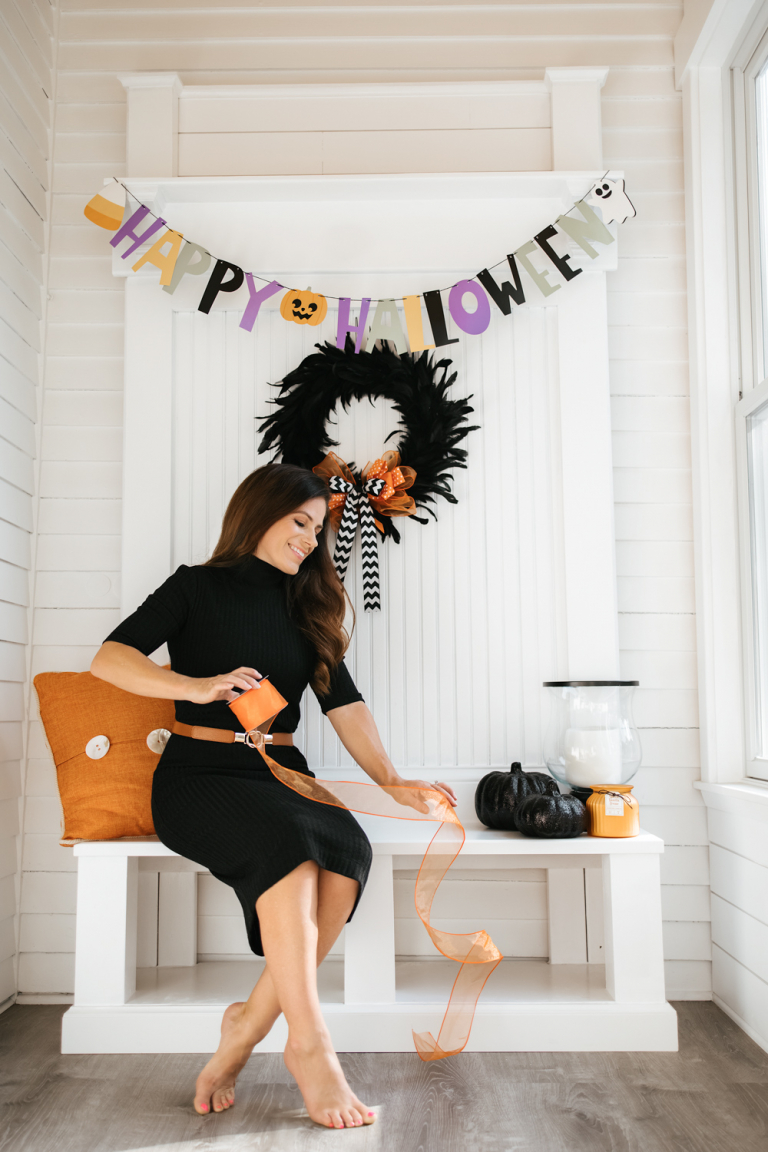
Tis’ the season for spooky elegance… We got an early start on our décor this year, because Halloween is a big deal in our neighborhood (and my son’s favorite holiday). Nearly every house decorates. In fact, it feels like half the city descends on our little triangle to trick or treat. I often liken it to the neighborhood featured in the movie Hocus Pocus. Are you hunting for Halloween entryway ideas? Here’s a quick look at how we spruced up our mudroom for the holiday, including two insanely simple DIY projects.
 Halloween Banner | Hurricane Vase Candleholder (Similar) | Feather Wreath | Décor Pumpkins (Similar)
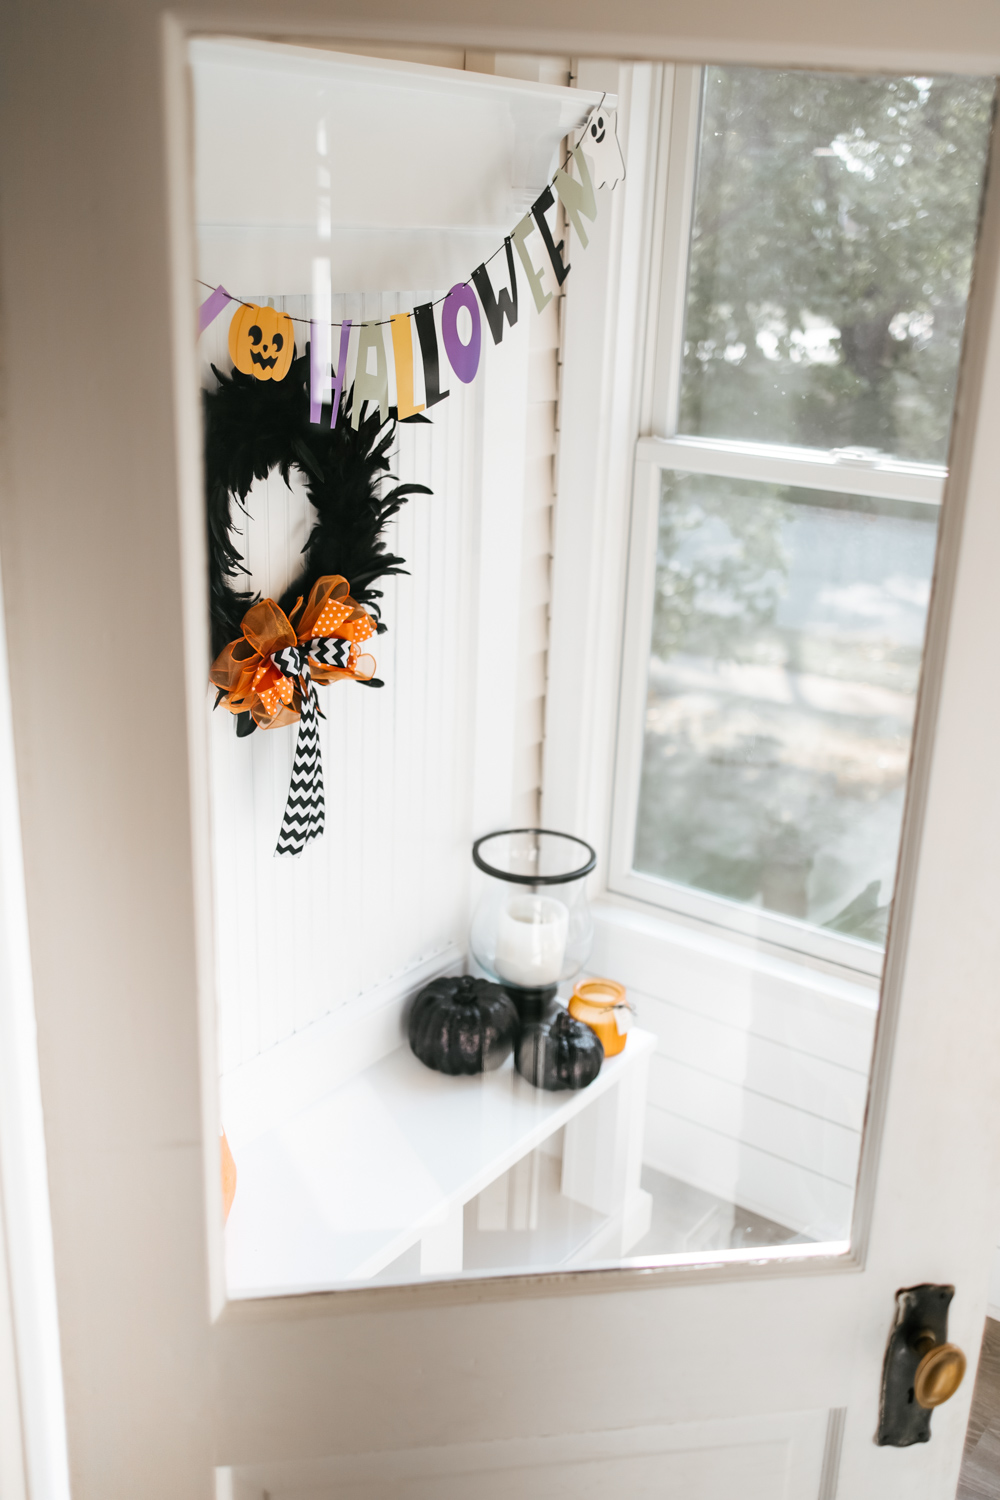
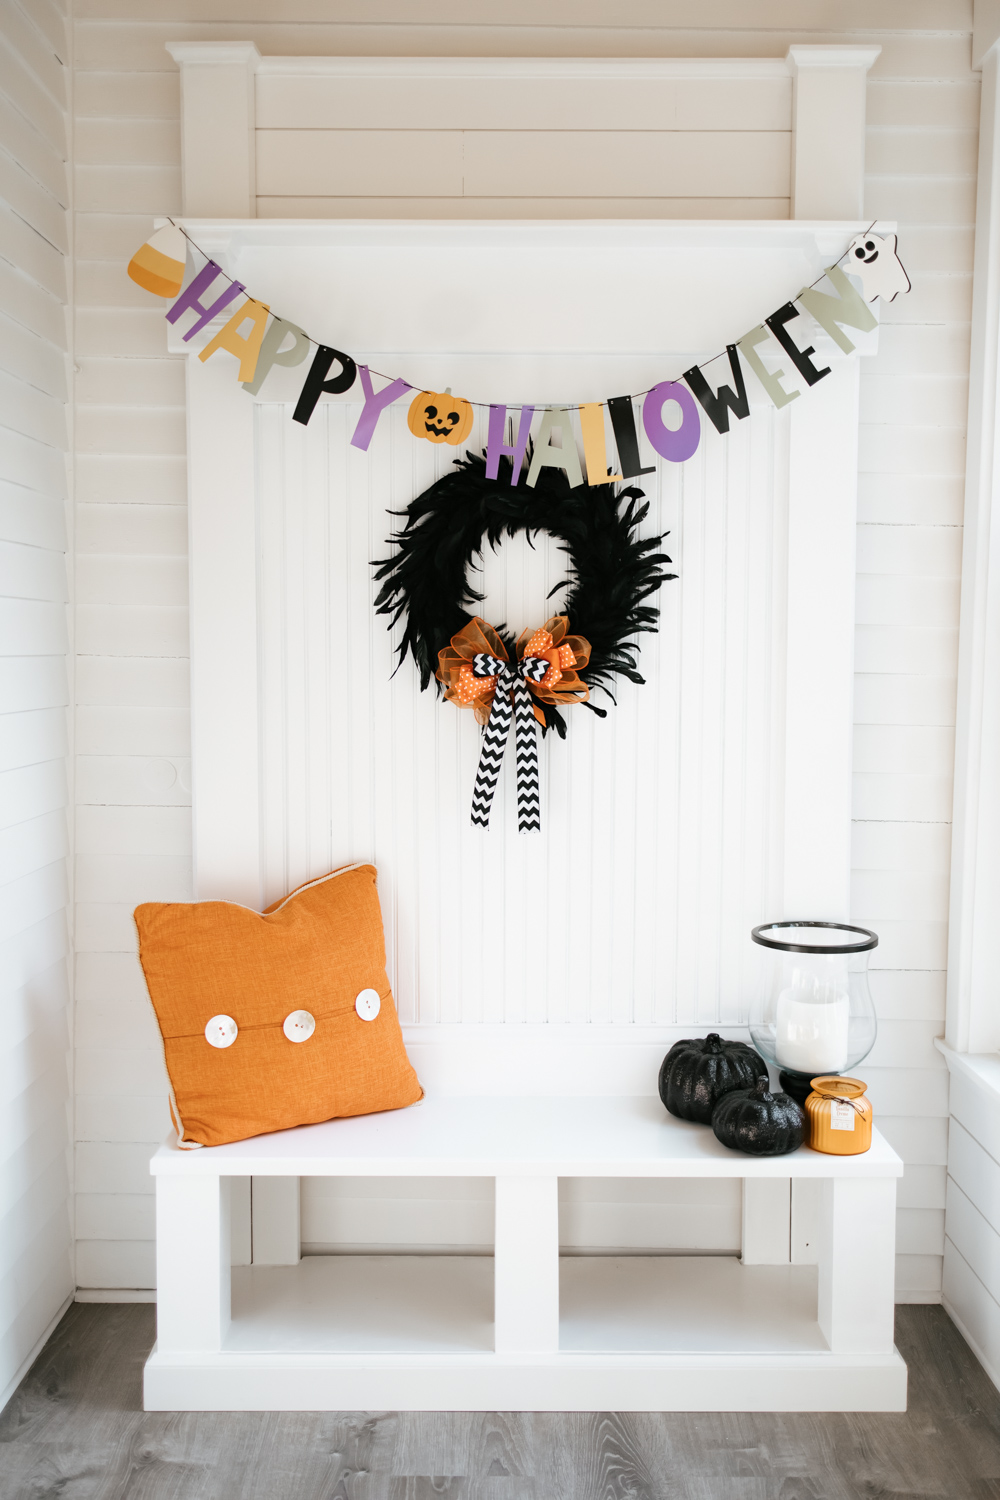
Elegant Feather Wreath – Halloween Entryway Ideas
First up, the feather wreath! Normally, I opt for understated autumnal décor. However, this year, I wanted to do something a bit more playful for the little guy. We settled on a palette of traditional orange and black for our Halloween entryway, but wanted to retain an elegant feel.
Consequently, I scooped up this feather wreath from Michaels and jazzed it up with three varieties of ribbon. Want to make something similar? Here’s a quick DIY tutorial!
Materials
- Black feather wreath
- 2.5″ sheer wired ribbon (bright orange)
- 1.5″ grosgrain chevron ribbon (black)
- 1.5″ satin wired polka dots ribbon (orange/white)
- Floral wire (small length)
- Scissors


Halloween Entryway Ideas – How to Make A Multi-Layered Bow
To begin, start with your 2.5″ sheer wired ribbon. Decide on the width you want to make your bow and cut a very long length of ribbon. Grab a book or scrap of cardboard (you can also go freehand, but a book helps keep the loops uniform). Place the end of the the ribbon on the book and hold down. Next, wrap the ribbon around the book 4-8 times.
Don’t go too tightly, or it will be difficult to slide off. Trim your excess ribbon and slide off book or cardboard. You should end up with a nice, neat, and even ribbon bundle. Wrap a short length of floral wire around the middle of that bundle (you can also use a twist tie). Reserve the extra floral wire instead of trimming it off. You will use this to secure your next ribbon (the polka dots). Now, fluff and shape your bow!
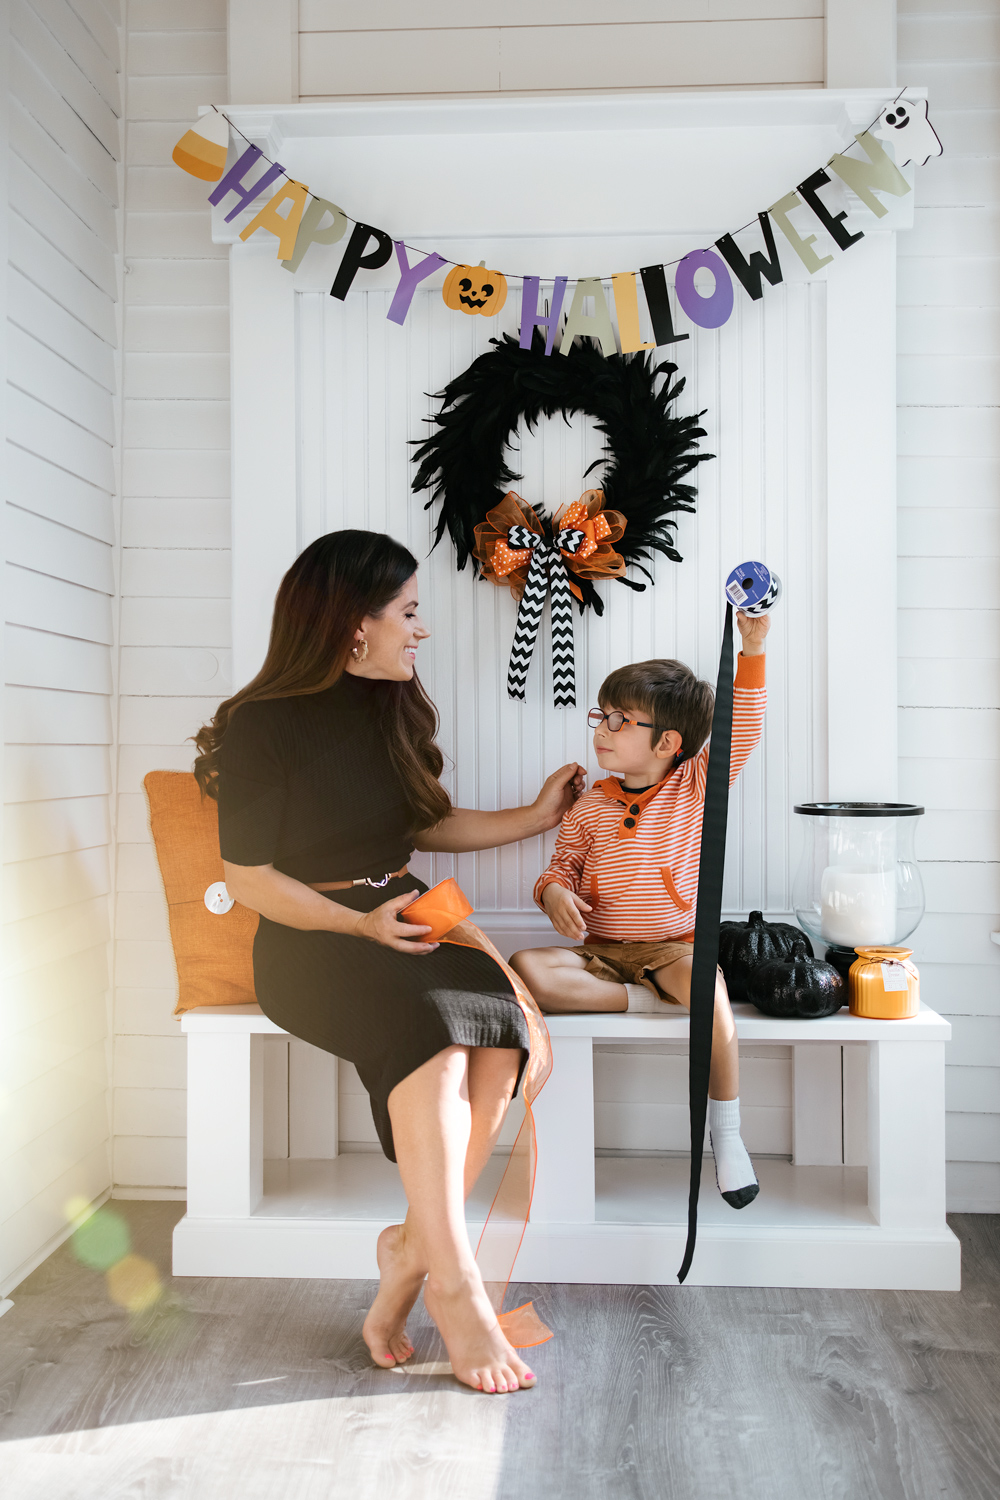
 Black Mockneck Dress | Skinny Belt | Faux Leather Twisted Hoop Earrings | Hurricane Vase Candleholder (similar)
Repeat above steps with the polka dot ribbon…
Once you have fluffed both ribbon bundles, place polka dot bow on top of the sheer orange bow, securing with the excess floral wire. Next up? The black chevron ribbon.
Because this is not a wired ribbon, it will behave differently that the other two. Cut a long length and tie into a traditional bow. I allowed for long tails to make more of a visual impact, but you can trim to your individual preference.
Cut another length of floral wire (large enough to wrap around your wreath). Slip this wire through the backside of your bow, so it is not visible from the front. Place black and white bow on top of the orange bow bundle and use the long floral wire to fasten the entire bundle to your wreath. Voila! File this under easy Halloween entryway ideas to share with a friend.
Not a fan of DIY? Here are a few pre-made wreaths to try!
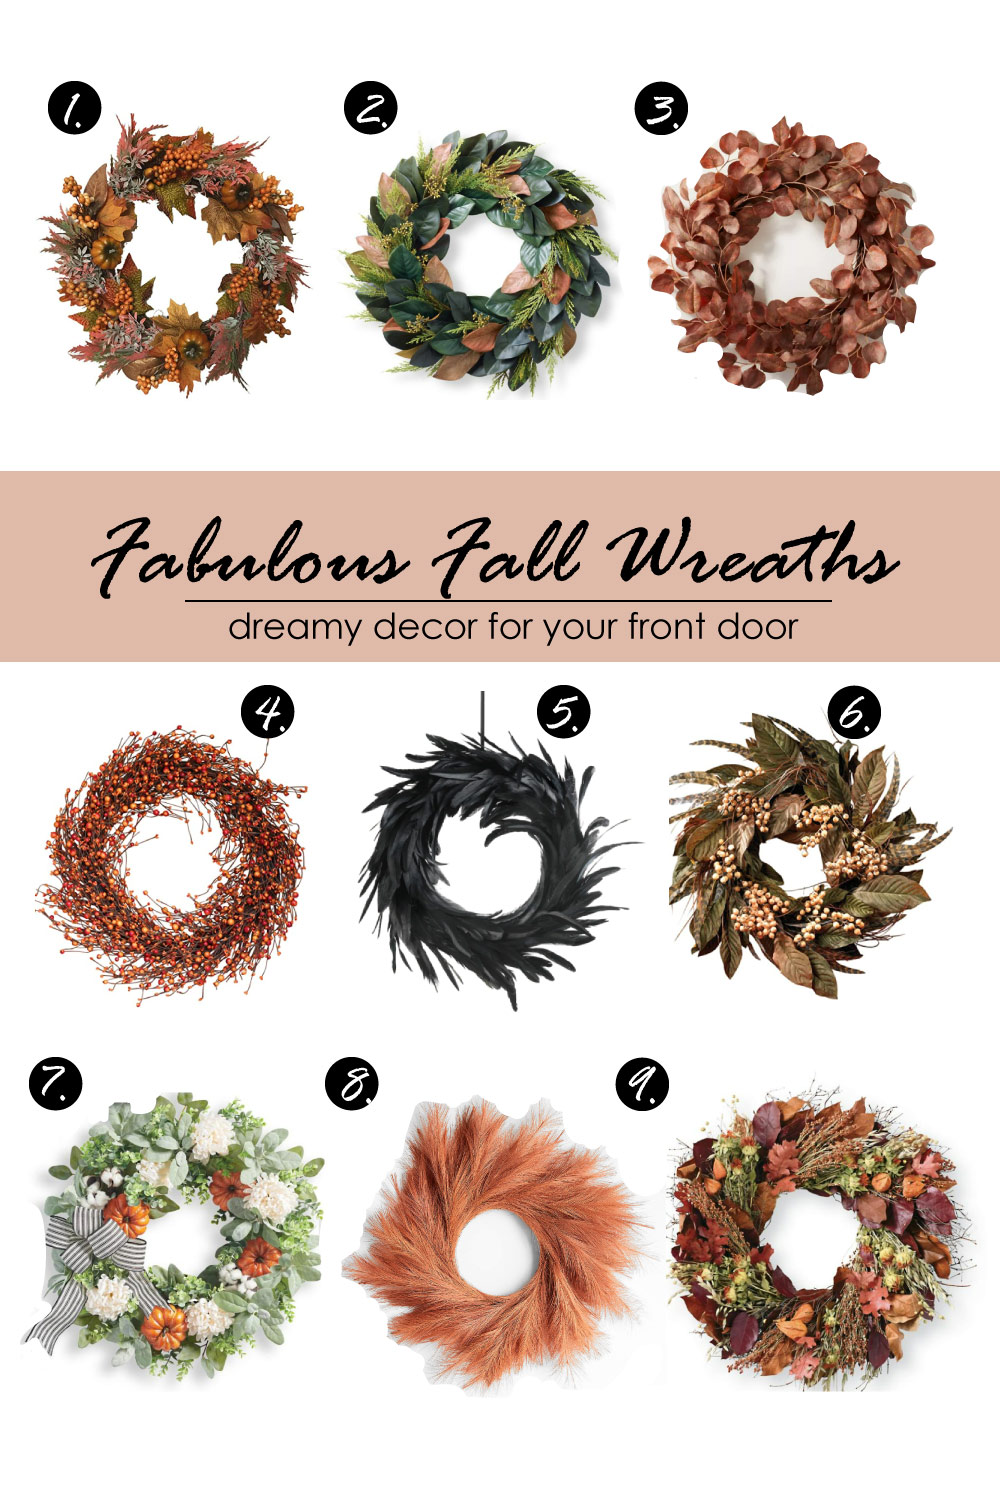
1 – Fall Plant Wreath (Amazon) | 2 – Surrey Wreath (Frontgate) | 3 – Faux Rusted Eucalyptus Wreath (Target) | 4 – Weston Fall Berry Wreath (Amazon) | 5 – Feather Wreath (Michaels) | 6 – Nearly Natural Feather/Berry Wreath (Amazon) | 7 – Farmhouse Pumpkin Wreath (Grandin Road) | 8 – Pampas Grass Wreath (Crate & Barrel) | 9 – Breton Wreath (Frontgage)
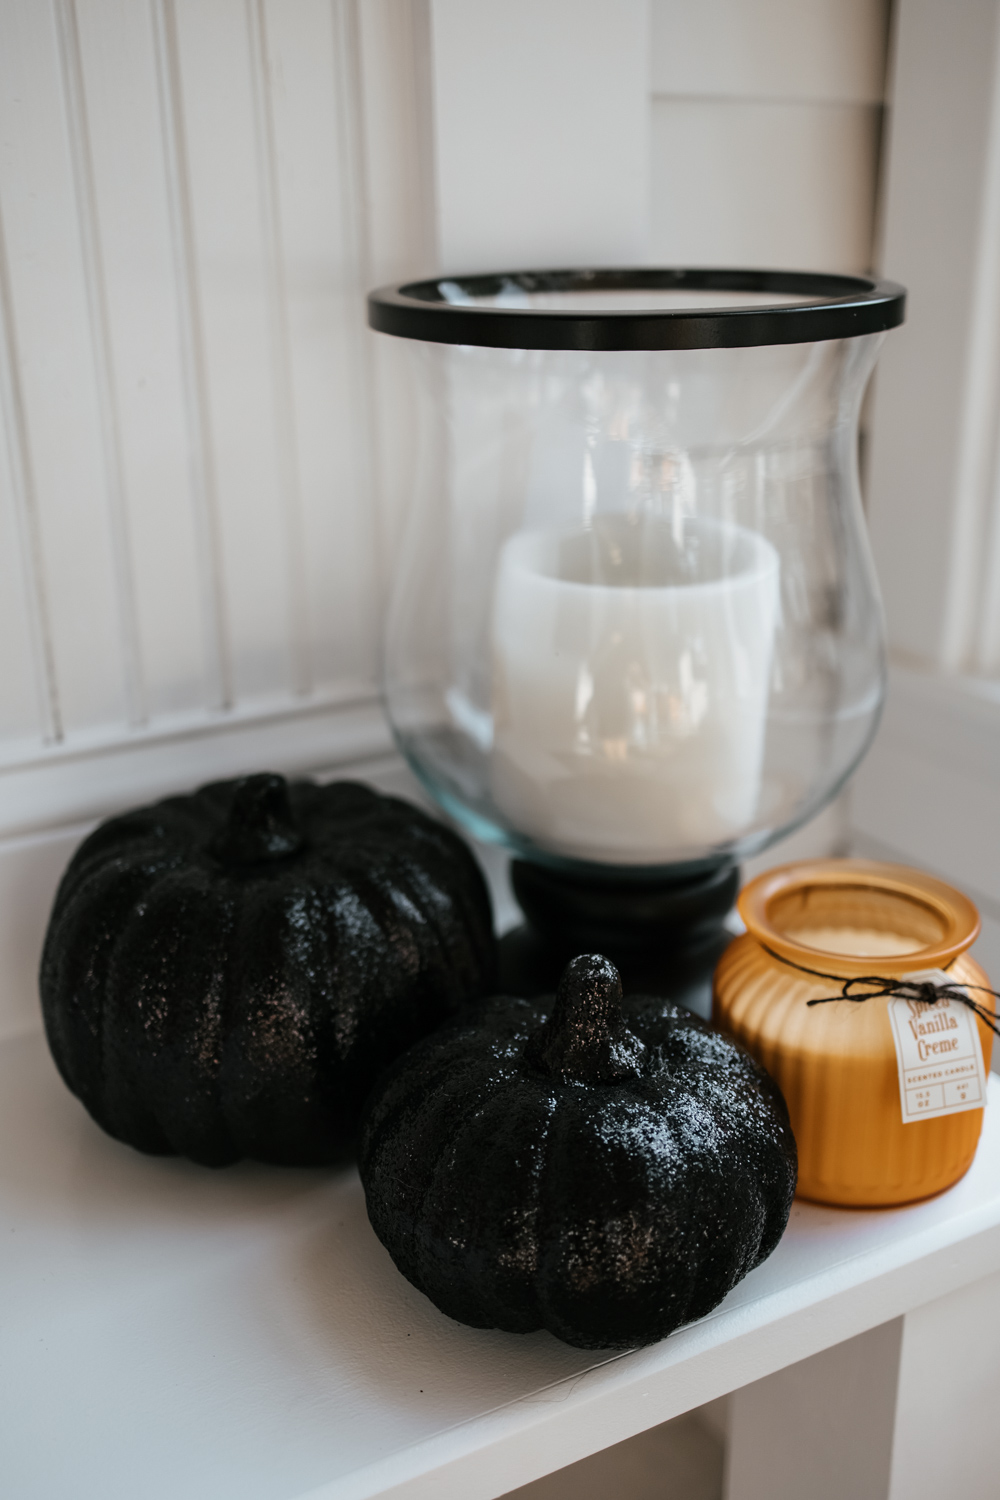
Halloween Entryway Ideas: Glitter Pumpkins
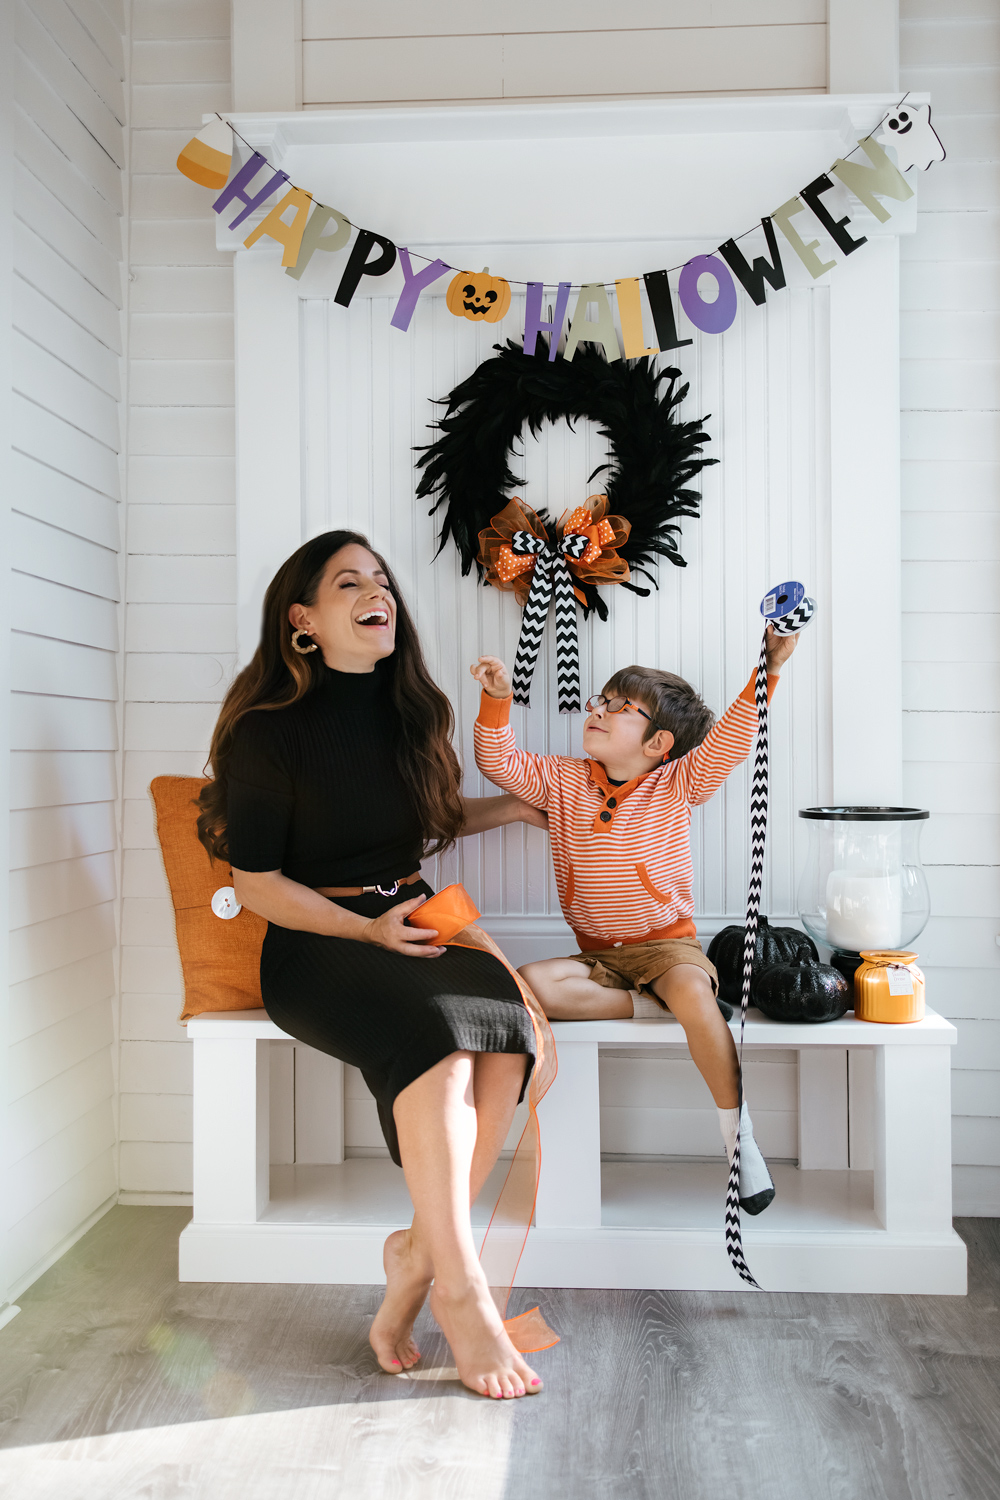
Finally, on our list of Halloween entryway ideas? A kiddo-friendly DIY project – Glitter pumpkins! Yes, these are definitely something you can buy premade (links below). However, if you’re looking for a somewhat messy craft project to do with your child, this is a great option. They just love glitter! Last year, we painted our pumpkins with plaid patterns and polka dots. Click here (painted pumpkin ideas) for that DIY project!
Materials
- Foam craft pumpkins
- Mod Podge
- Foam brush
- Extra fine glitter
- Cardboard box (a shoebox is great)
 Hall Tree Bench (Similar) | Feather Wreath | Halloween Banner
Grab your foam craft pumpkin. If you want lighter glitter (gold or orange), I’d recommend a white foam pumpkin. Alternatively, if you are doing black glitter, start with a black foam pumpkin base.
Use your foam brush to cover your pumpkin in a coat of Mod Podge. Don’t be afraid to be generous with your coating. Thicker is better for catching the glitter. Place pumpkin in cardboard box or on another type of protected surface. I’d also recommend covering your floor with a sheet or plastic to catch any wayward glitter.
Now, it’s time to shake away! Grab the glitter and let your child sprinkle it all over the pumpkin’s surface. Let dry at least 24 hours before attempting a second coat if needed. Questions? Let me know if the comments below.
Leave A Comment